DIY: Intention word bracelets
Make an intention word bracelet to keep the light and love of Hanukkah shining bright
Hanukkah is drawing to a close. Last night we lit the eighth candle on our menorah, and as our family watched the candle flames flickering in the night, we decided to make a keepsake to remember the all the light and love that has filled our home and hearts during the Festival of Lights. So today on this last morning of Hanukkah, we made intention word bracelets as a personal promise to ourselves to shine bright like the Hanukkah lights.
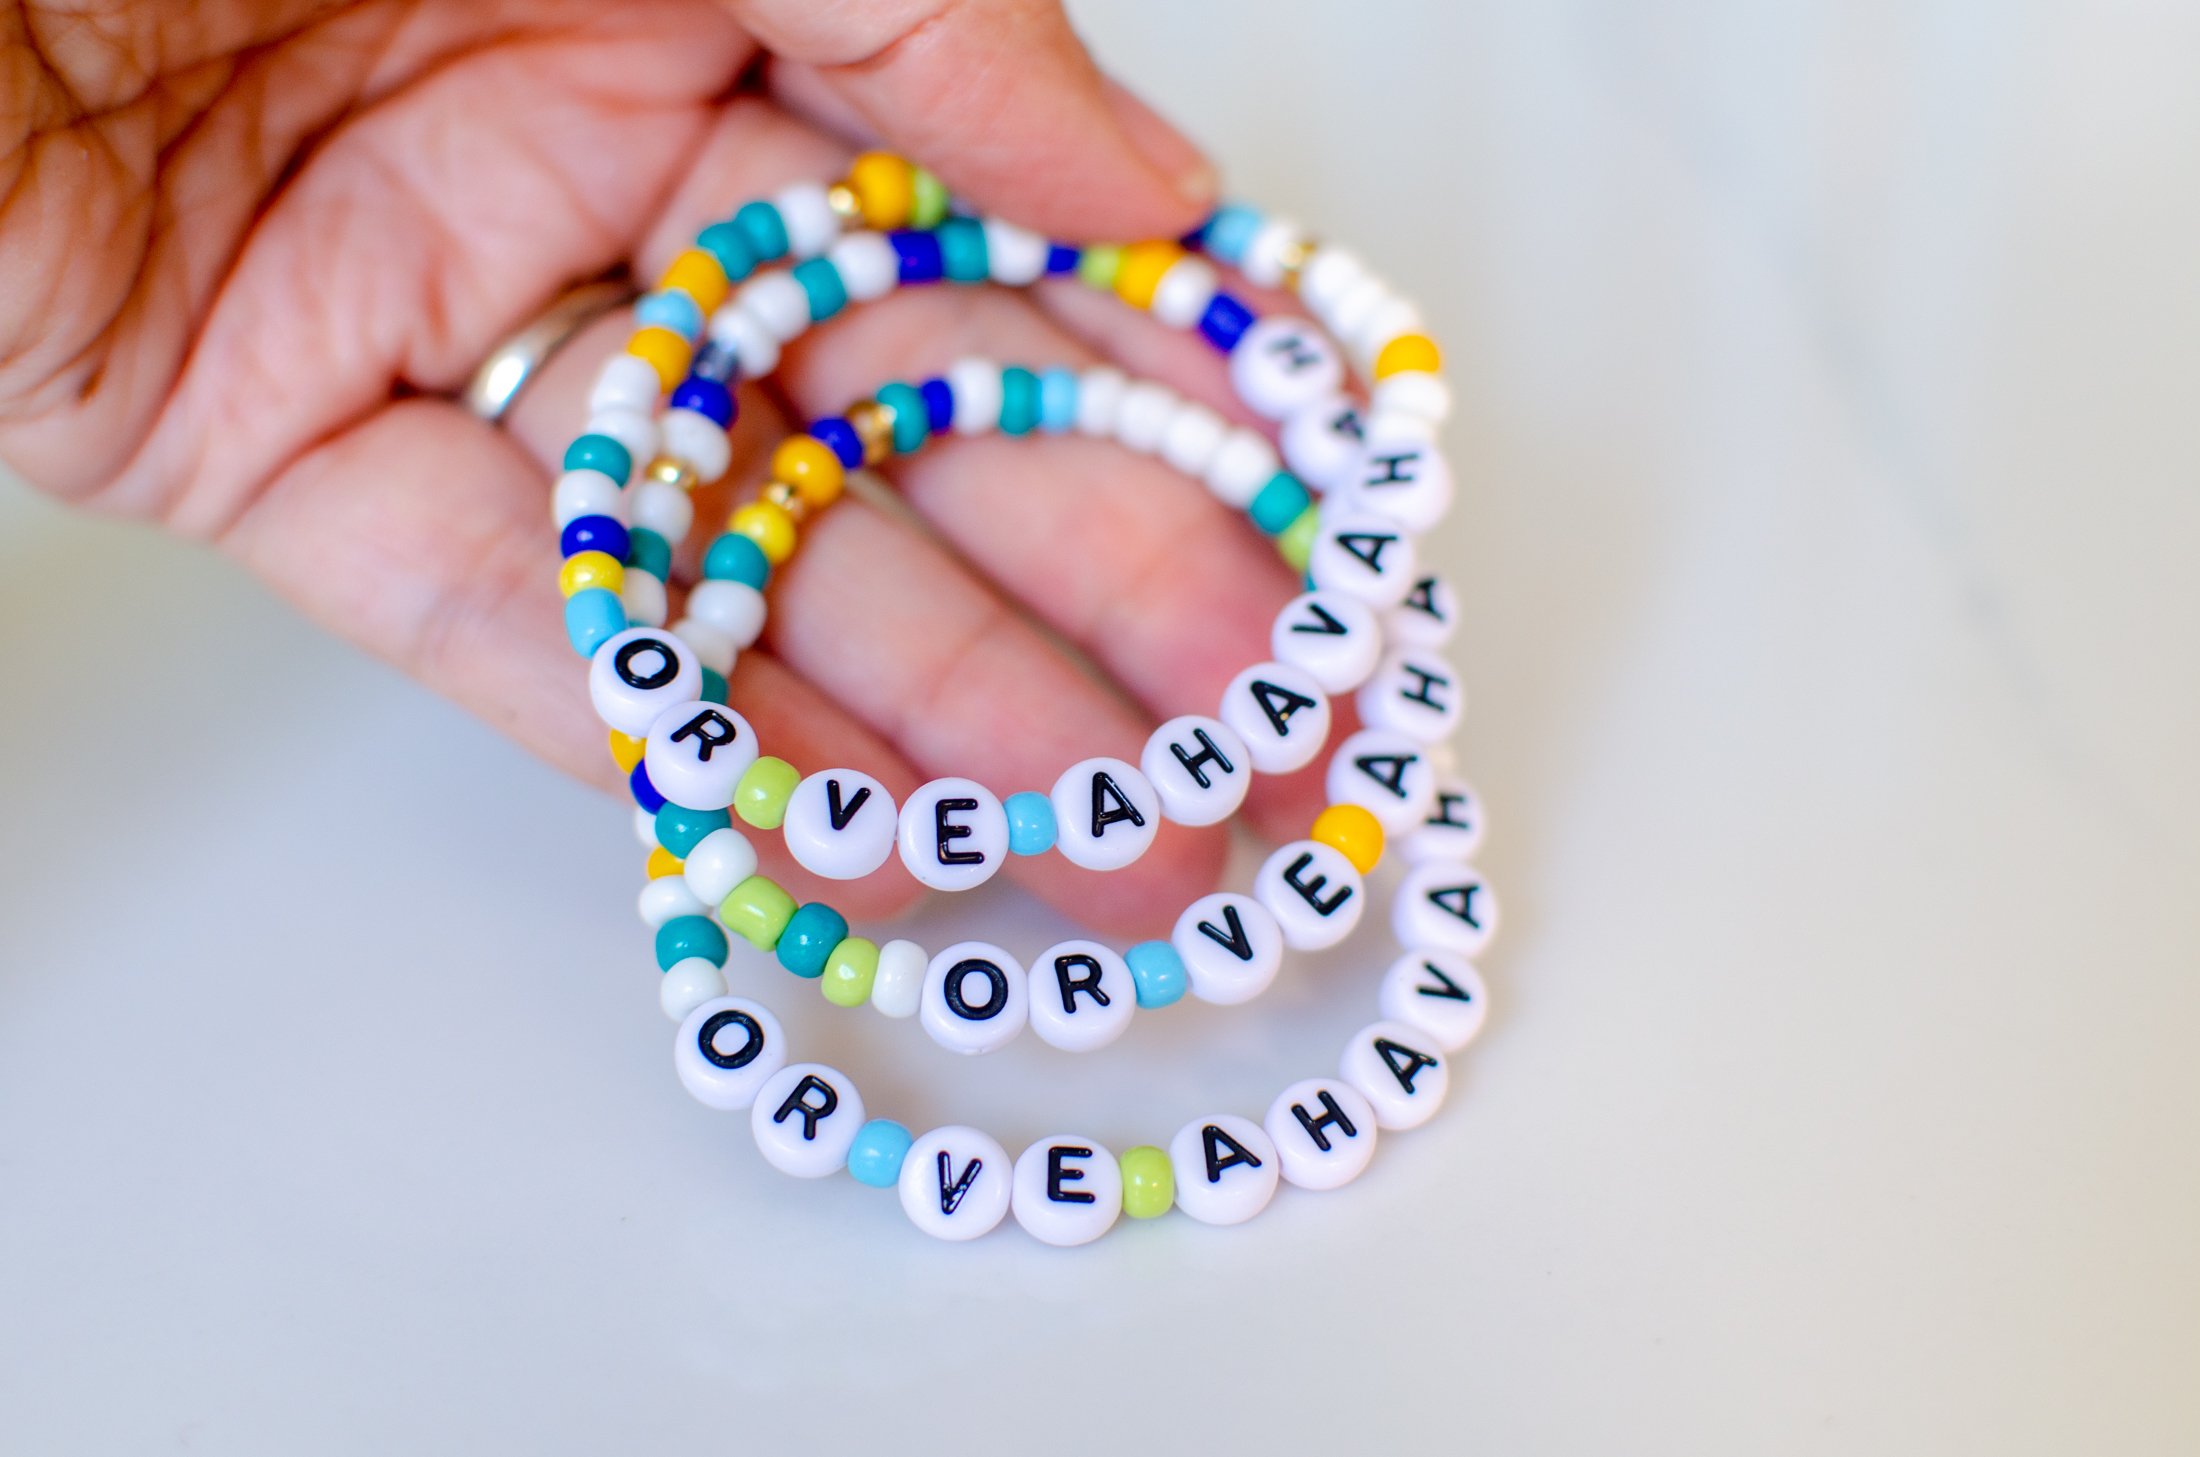
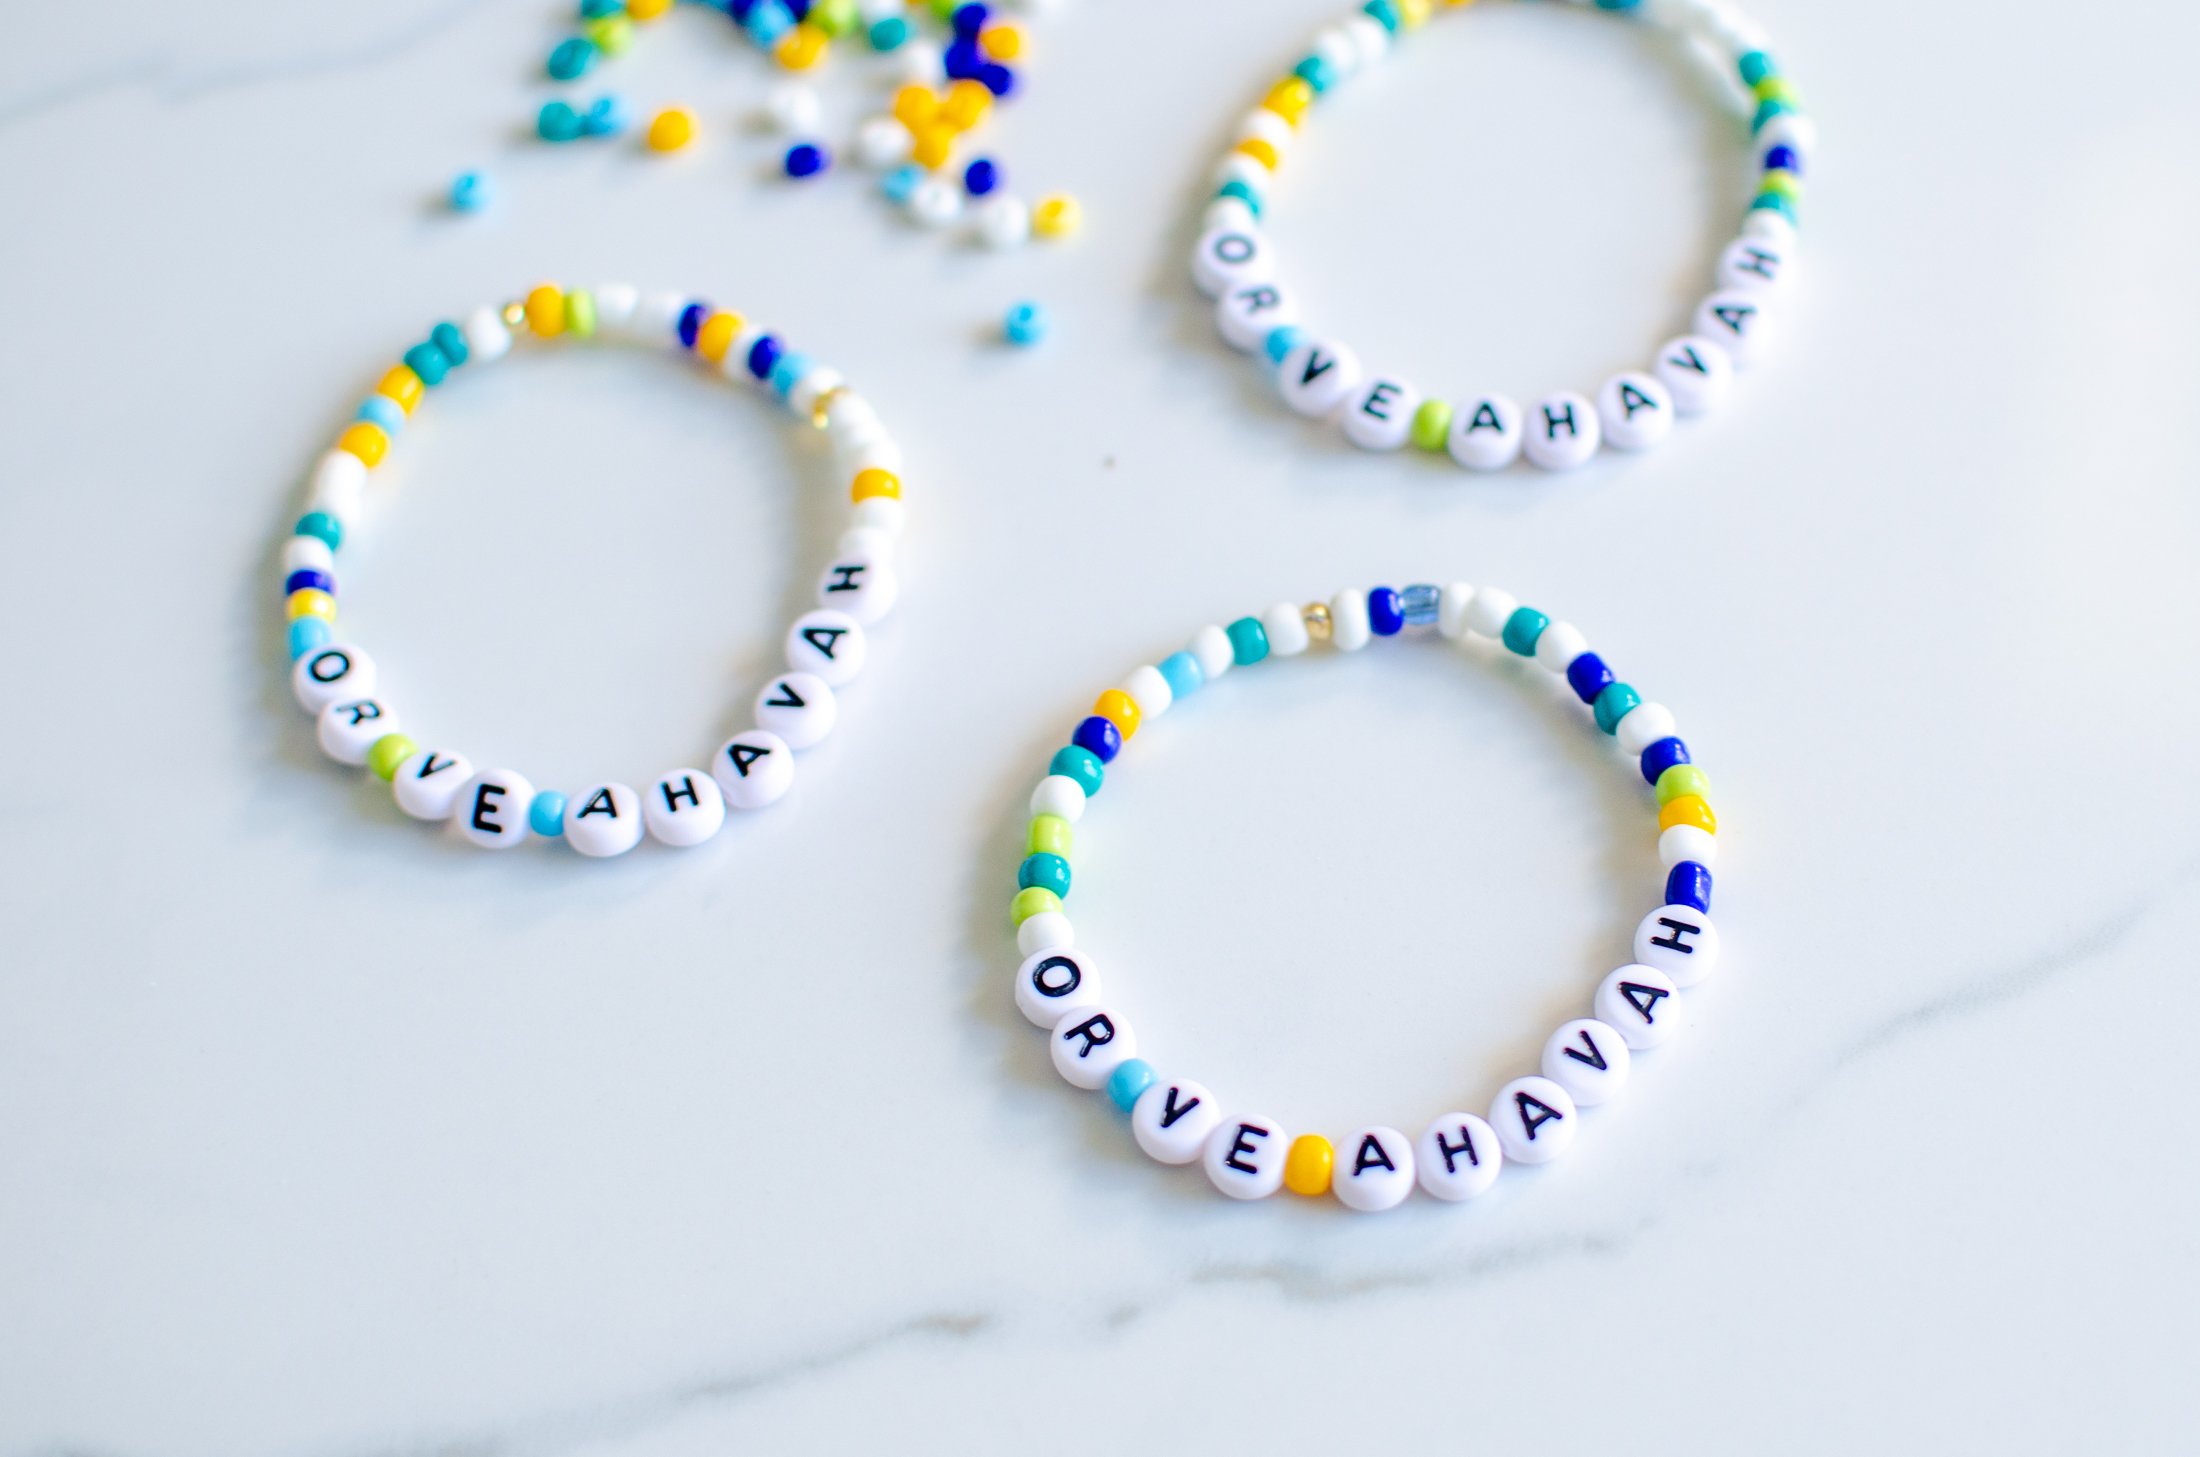
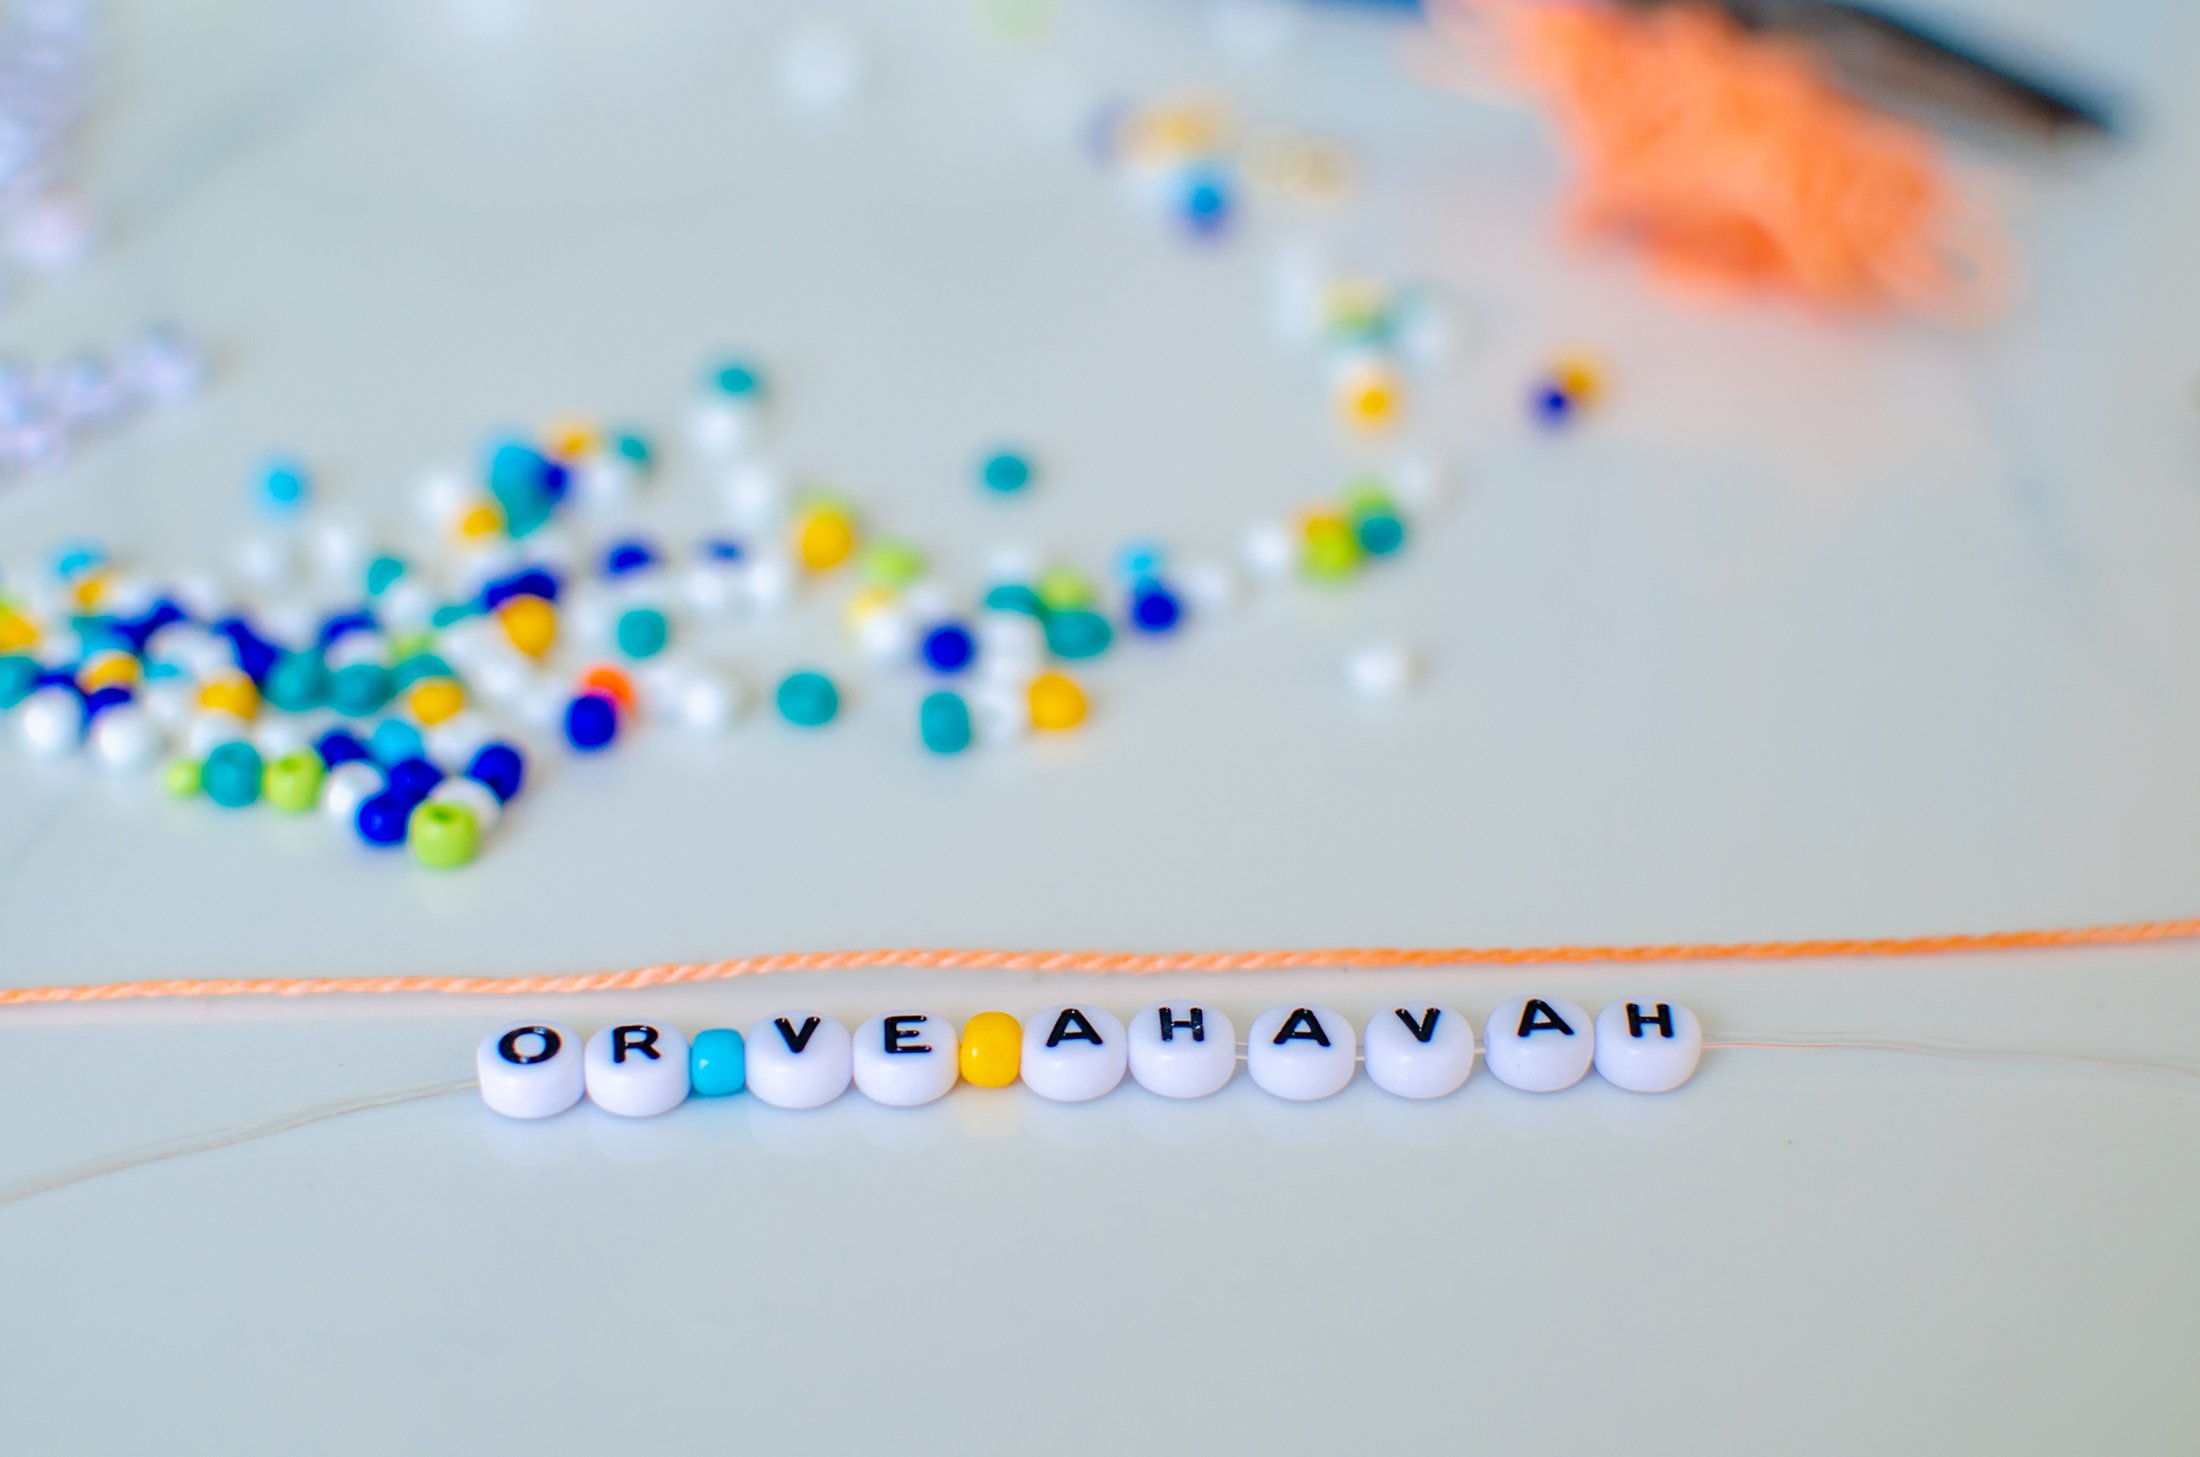
I look as an “intention word” as something I want to bring into my life. Since these words were inspired by Hanukkah, I chose the words in Hebrew “or ve ahavah” which translates in English to light and love:
Or - Light
Ve - And
Ahavah - Love
If you would like a reminder to keep the “light and love” of Hanukkah present in your life throughout the year, or if you have a word that resonates with you, you’re invited to make an intention word bracelet too. This is also a lovely activity as a girls’ day/night out (any time of year)! Here’s what you’ll need to make your own.
Intention Word Bracelets

Here’s what we used to make our bracelets:
Alphabet beads
6/0 Glass Seed Beads
Crimp bead cover (optional)
1 mm clear stretchy jewelry elastic
Embroidery floss
Flat nose pliers
Jewelry glue (optional, but a really good idea!)
Scissors
Here’s how we made it!
1. Measure your wrist size by wrapping the embroidery floss around your wrist and cutting where the two ends of the floss meet. This length will serve as a guide when you’re ready to string the beads.
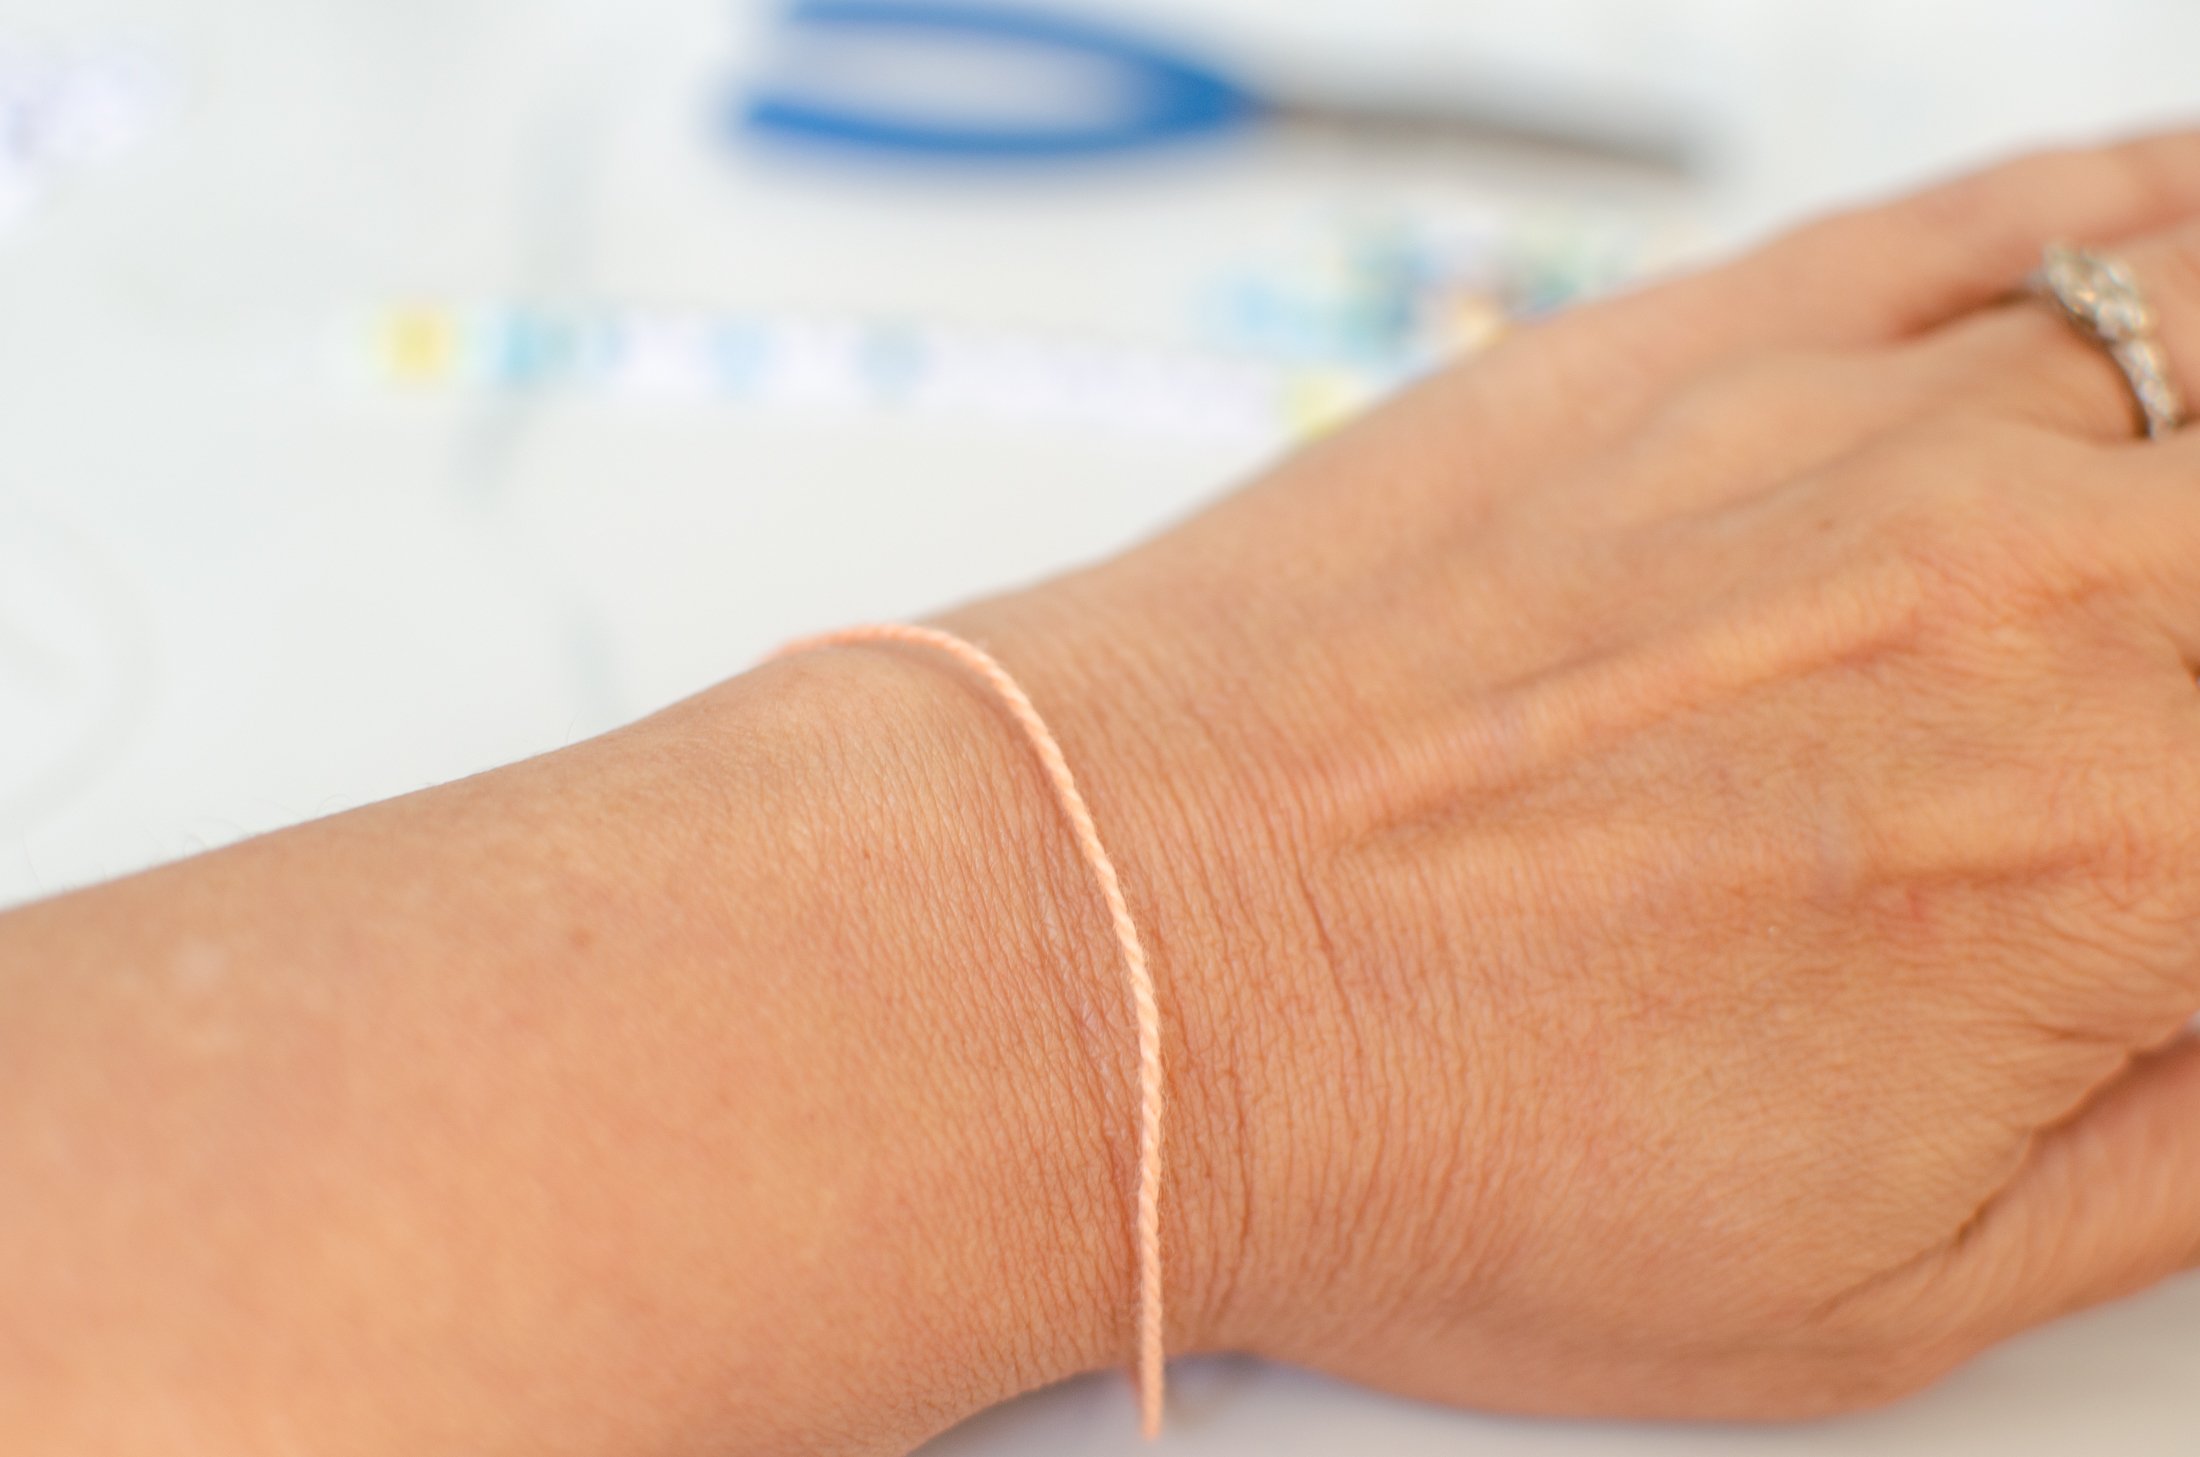
2. Lay the embroidery floss on a table and cut a piece of stretchy elastic about 2 inches longer than the floss.

You’ll need the elastic a little bit longer than the floss to tie your double knot when you’re done stringing the beads.

3. Lay out your alphabet beads,
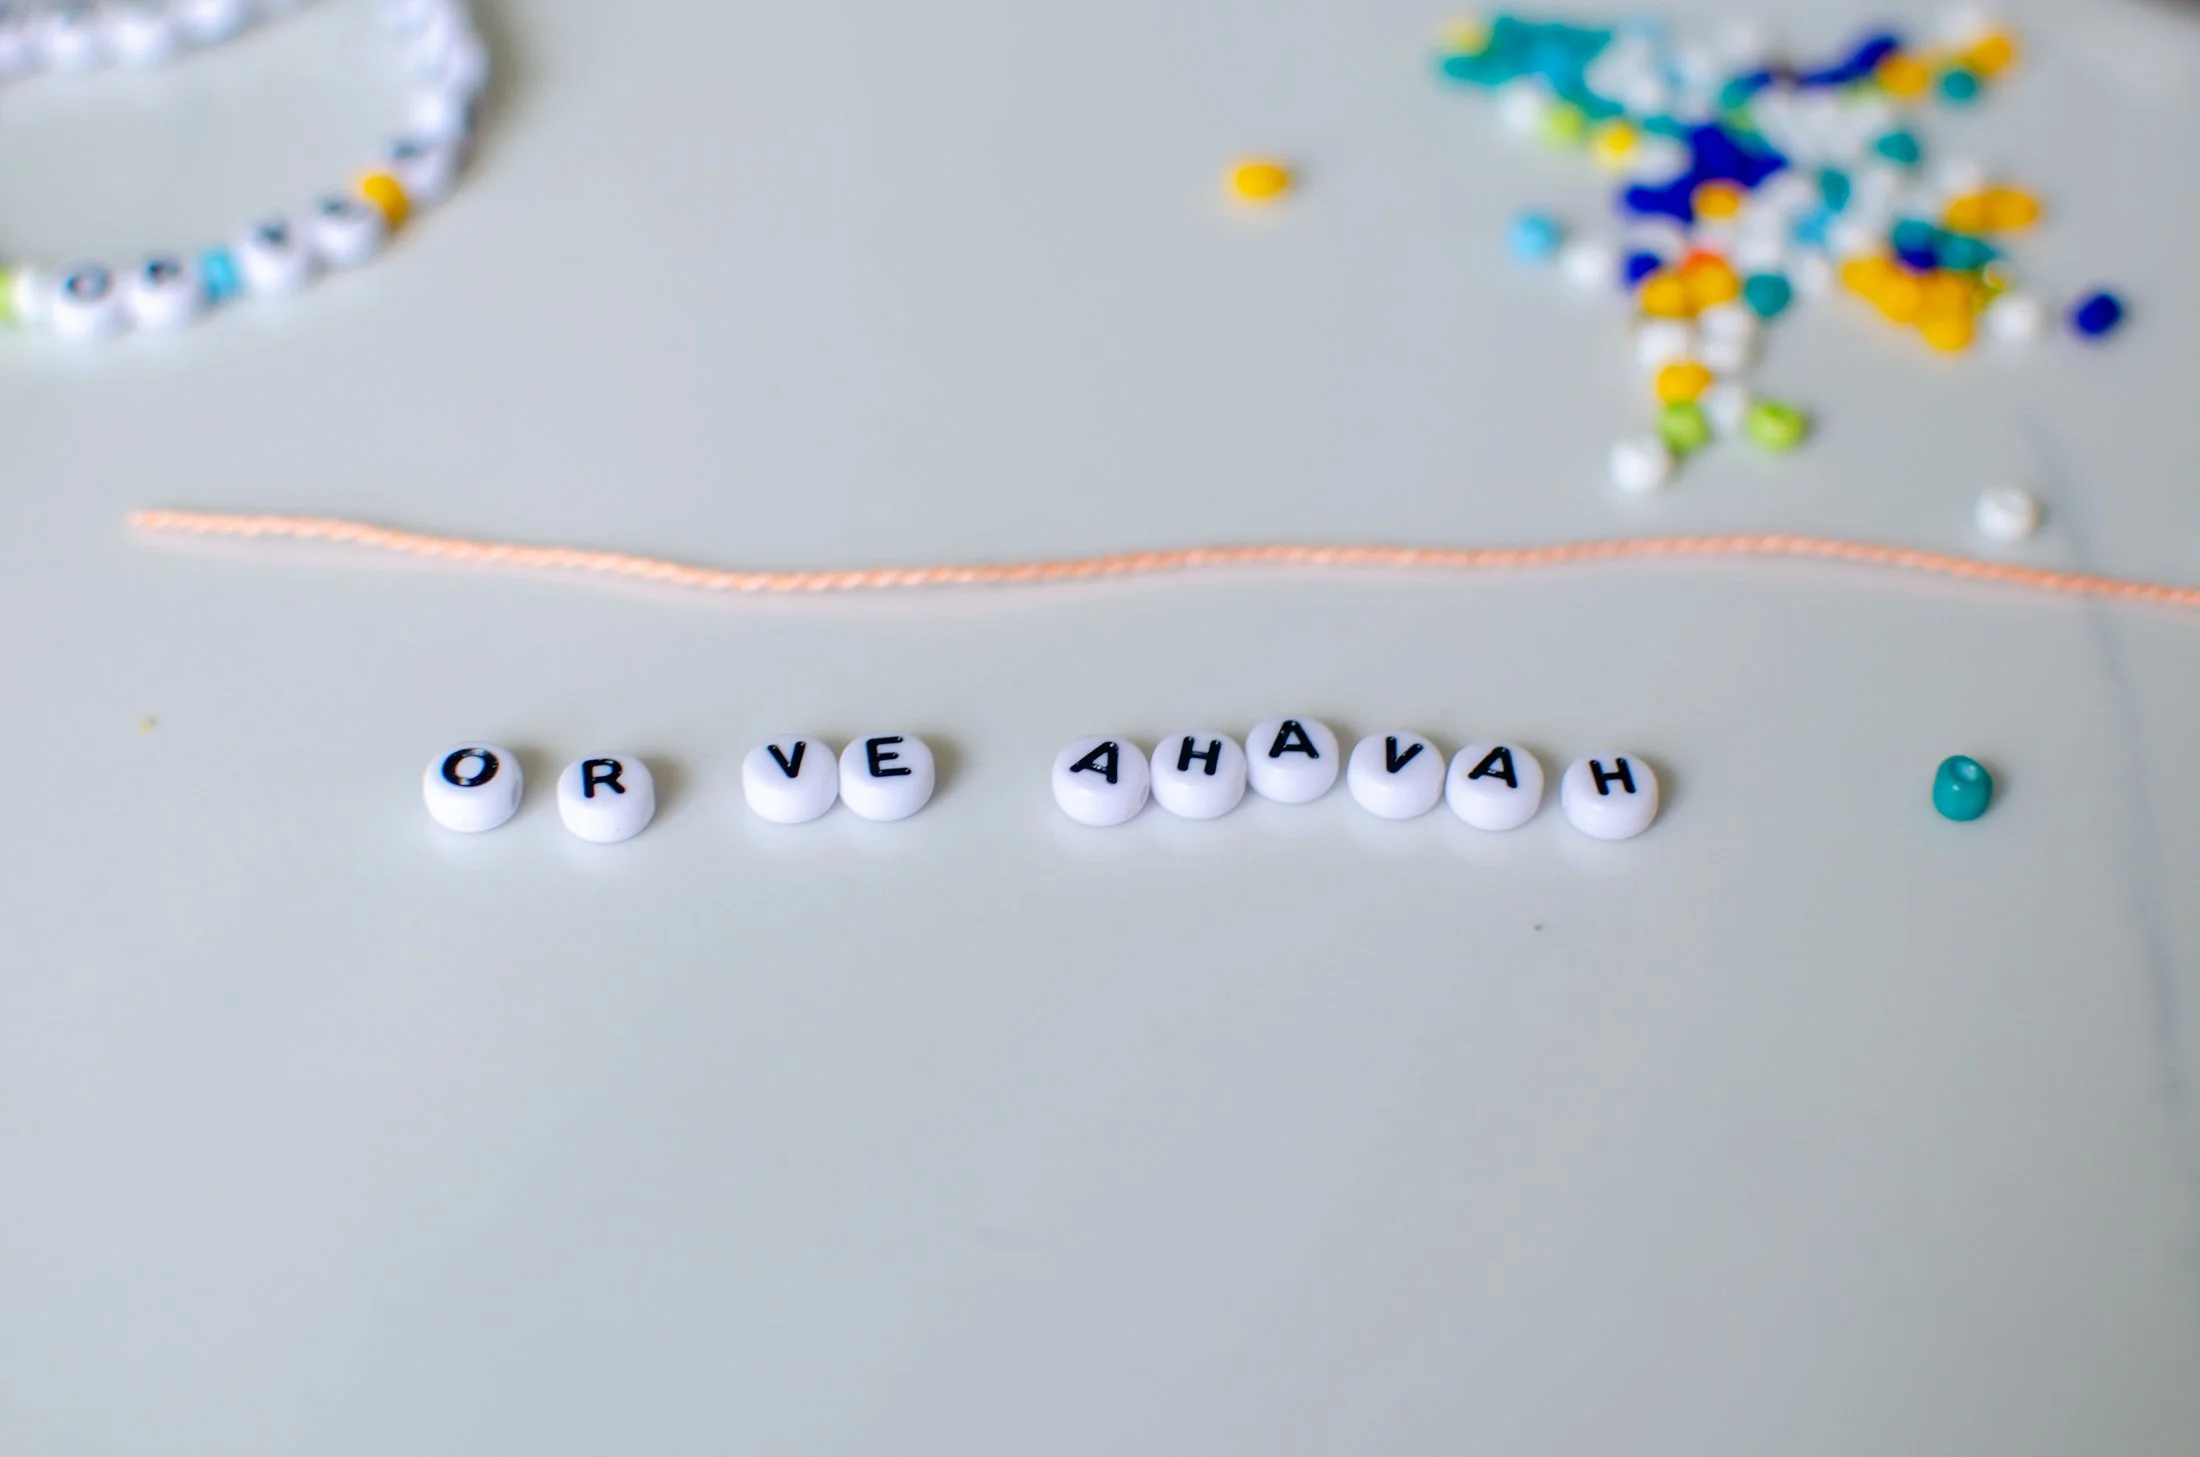
Or (light) ve (and) Ahavah (love)
and string them in the center of the elastic cord.
4. Then string seed beads on each side of the alphabet beads using your embroidery floss as a guide for how many beads to add to your cord.

5. When you’ve reached your desired length, tie a knot, and then tie one more knot to keep it secure.
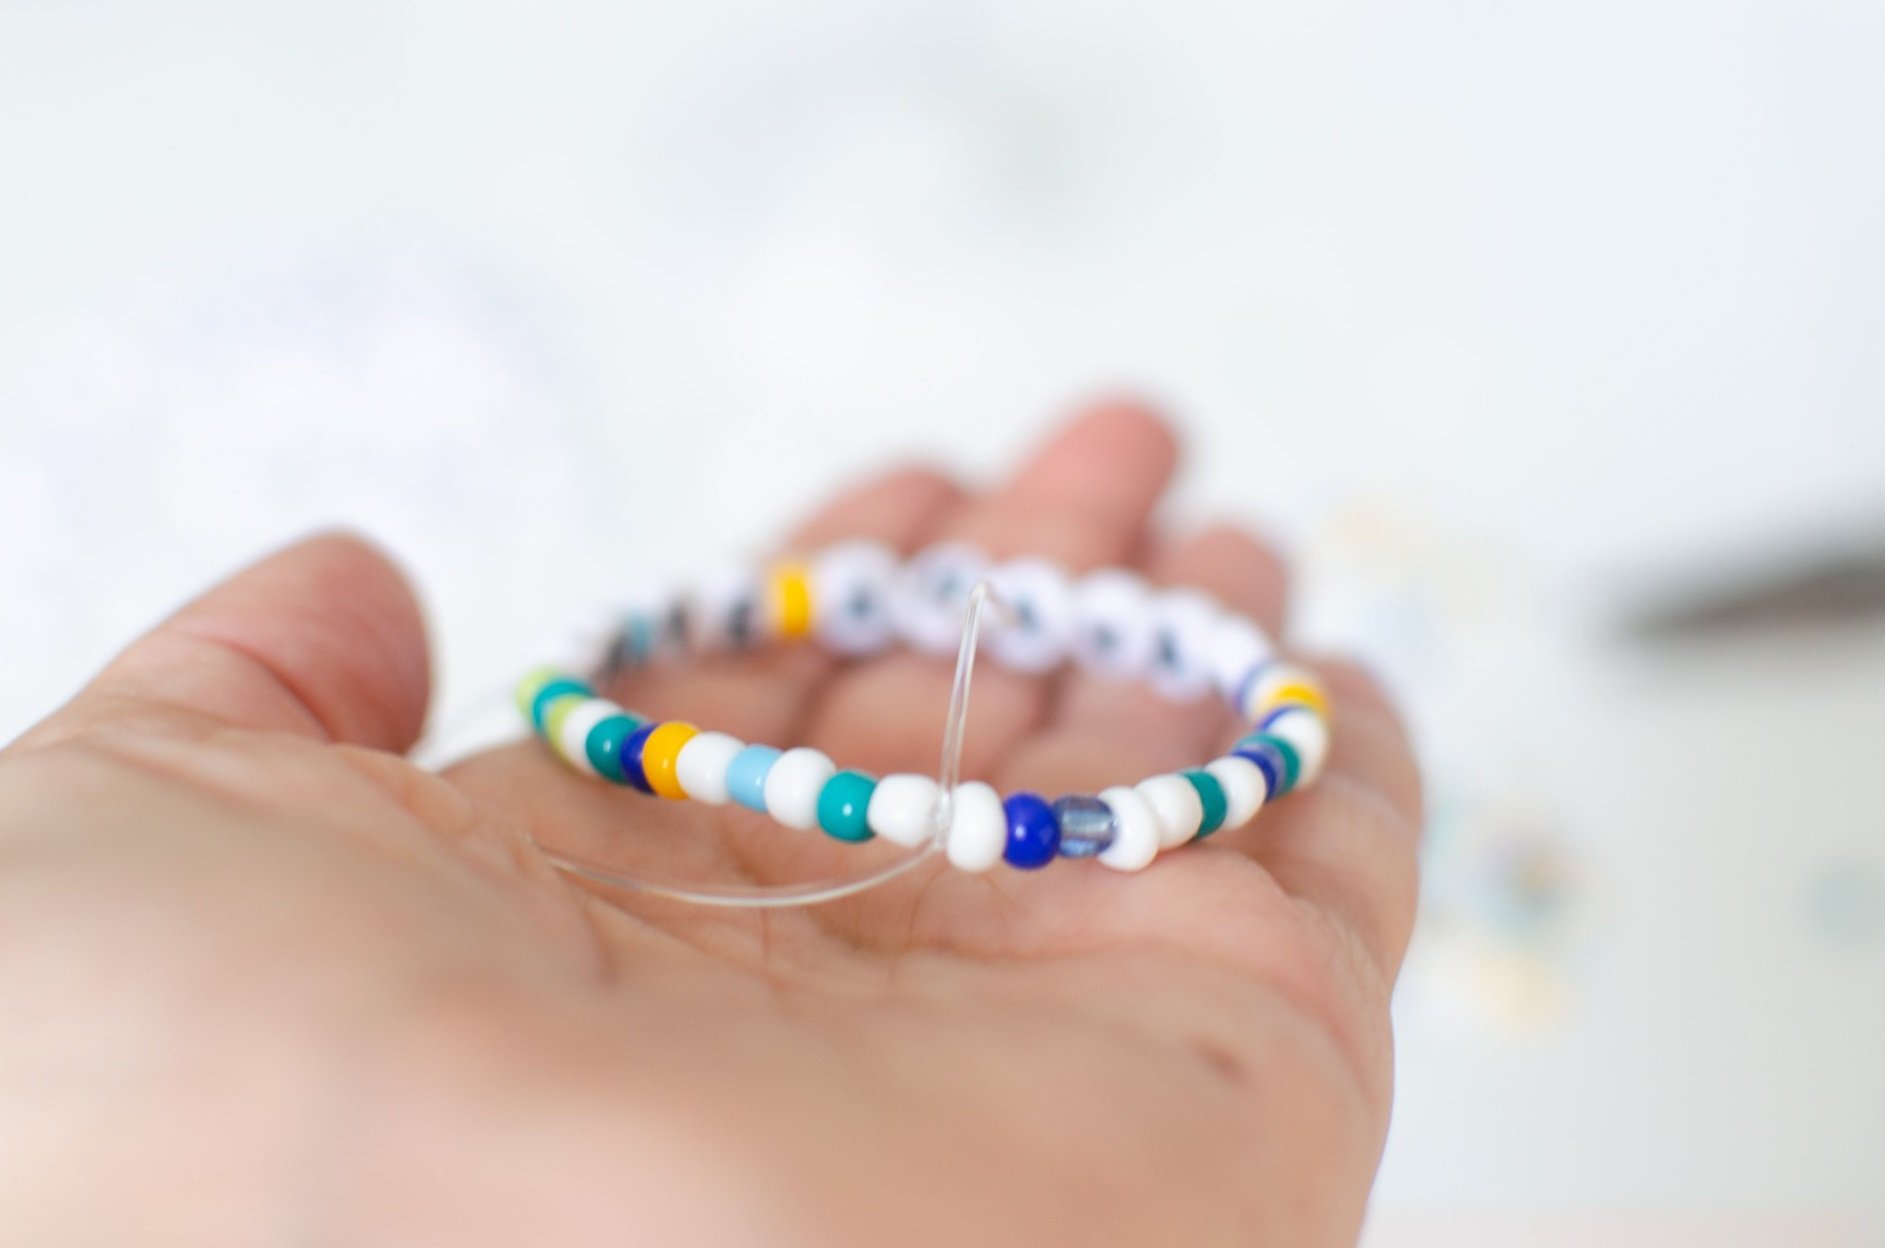
6. This is optional, but I like to take a little jewelry glue on a toothpick to and dab it onto the knot. If you do this step, let your glue dry before moving onto the next step.

7. This is also optional, but I think it’s pretty to finish the bracelet by covering the knot with a crimp bead. Trim your long ends with the scissors, trying to get as close to the knot as possible, and if you have a crimp bead, place it over the knot, and gently close the two sides together with the flat nose pliers. The crimp bead in this photo is gold.

These are so nice to give as presents too! You can make a small card and place both the card and bracelet in a small bag.


Do you have a special word that resonates with you this time of year? If you’d like, share it with us in the comments below!
I hope at Hanukkah, and all year through, you recognize your own unique light and use it to illuminate your own life and others in our world.
If you’re looking for more ways to celebrate on this last day of Hanukkah, please visit our Hanukkah Round-up, and to celebrate the arrival of a new season, visit our Winter Round-up!
Wishing you light and love on this last day of Hanukkah!
~ Jennifer