DIY: Mother's Day charm necklace
Make a hand-stamped charm necklace for mom (or grandma) with a child’s sweet little fingerprint
Has your child ever looked at you with hearts in their eyes (kind of like the heart eye emoji)?? I think one of the most special things about being a mom is that my daughters do this all the time. I feel so much love for them, and they give such a wonderful feeling of love and affection right back to me.

Nothing says I love you like a warm hug.
There’s a sweet children’s song from Israel, Ima, Yekara Li*, in English translates to Mommy, Precious to me, which adorably expresses this reciprocal love between a child and mom.
Mommy, you are precious to me.
My precious mommy loves me very much.
I will smile at you.
I will sing a little song about you
Because I love you.
I love you.
As we get closer to Mother’s Day, (celebrated this year in the United States on Sunday, May 9), I thought it would be sweet to honor this shared love between a mom and child on a necklace. We made two handmade charms from Sculpey baking clay, one is “stamped” mom or ima (Hebrew for mom), and the second charm captures a child’s dainty fingerprint.

I love sharing a special craft with my daughters. In this spirit, the necklace can be made as a mommy and me project with younger children or by an older child without much assistance. You only need a few items. So let’s get started!
Here’s what you’ll need:

“Stamped” Mother’s Day Charm Necklace
Sculpey baked clay (in 1 or 2 colors)
Alphabet stamps
Jewelry cord (we used bamboo cord)
Wooden beads
Plastic coffee stirrer (or straw)
Small glass
Here are the steps to make it:
1. Take a piece of Sculpey clay and make a small ball. (Children can help roll the ball in their hands)!

2. Create a disk by gently flattening the ball with the bottom of a glass. (Children can help flatten the ball).

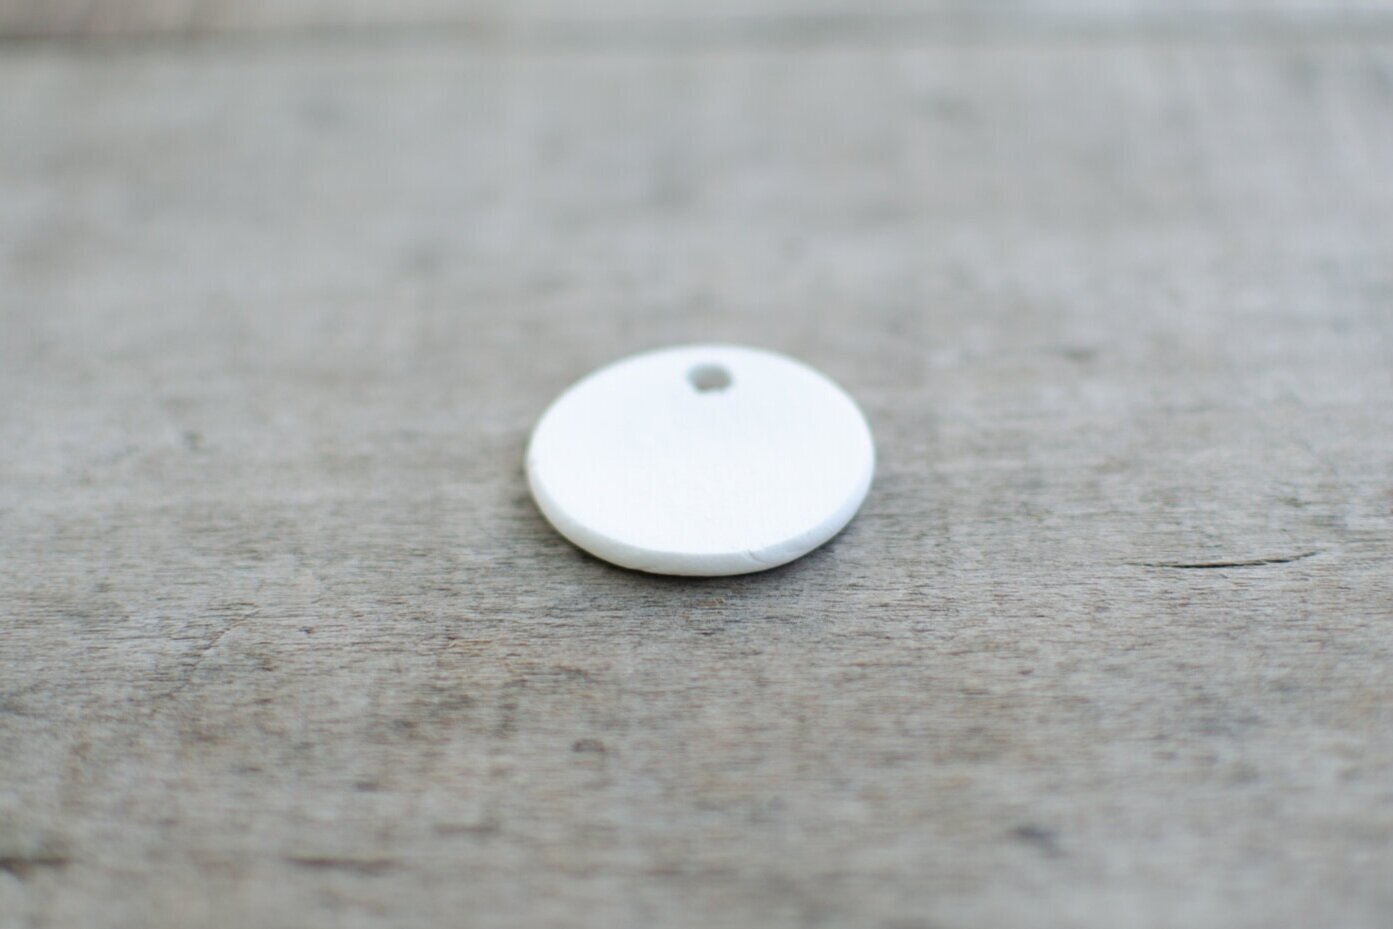
3. Use the top of a coffee stirrer to carefully pierce a hole at the top of the disk.

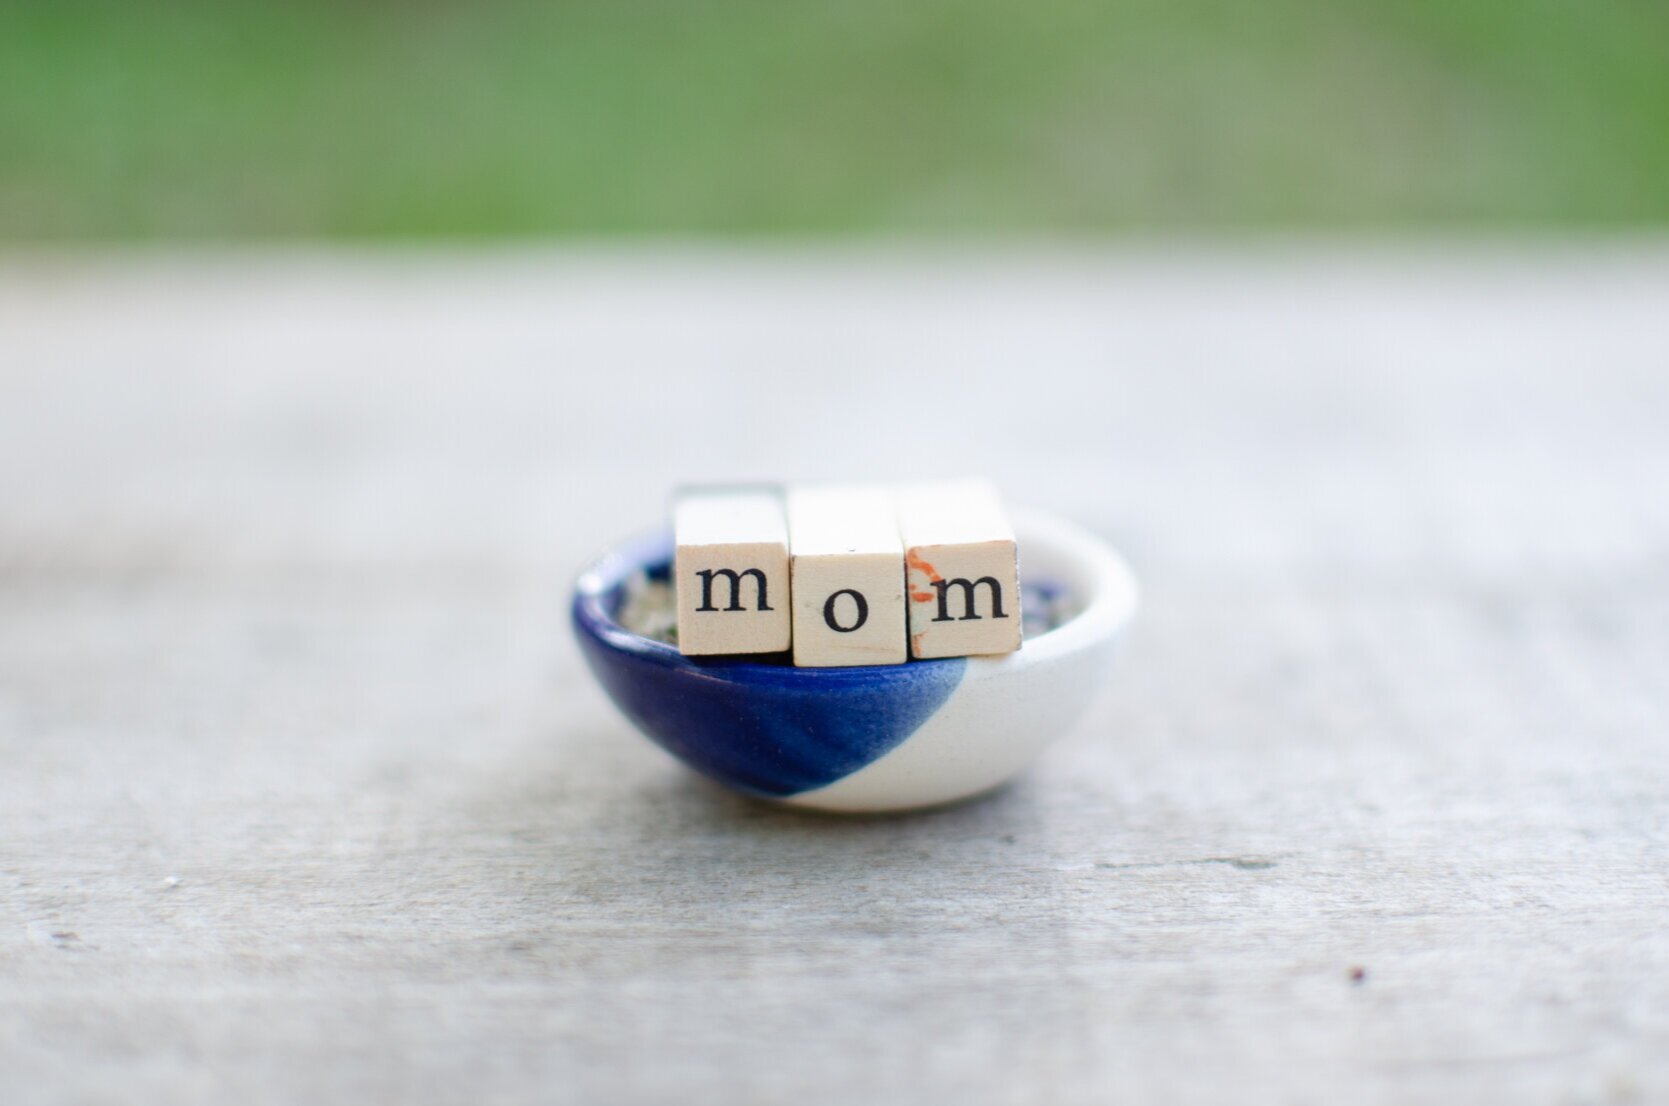
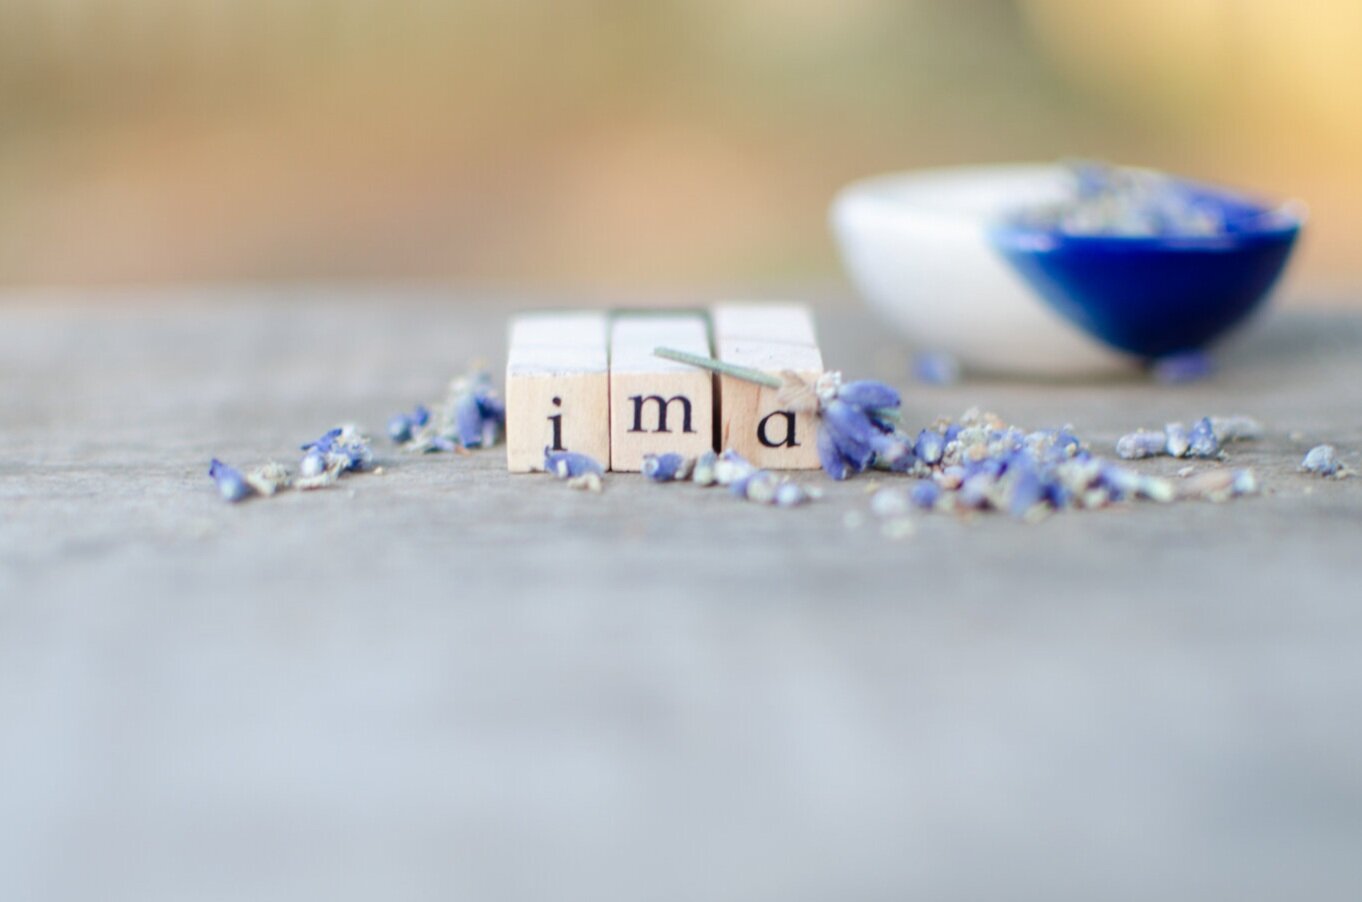
4. Stamp “mom” or “ima” into the center of the disk.
5. Set your mom charm aside for the time being.

Set aside your first charm while you make the fingerprint charm.
6. Make a second disk with the same color clay or a new color using the steps 1, 2 and 3 above. This disk will capture your child’s fingerprint.
Second charm is ready for a little finger.
7. Take your child’s finger and gently press it into the center of the disk.
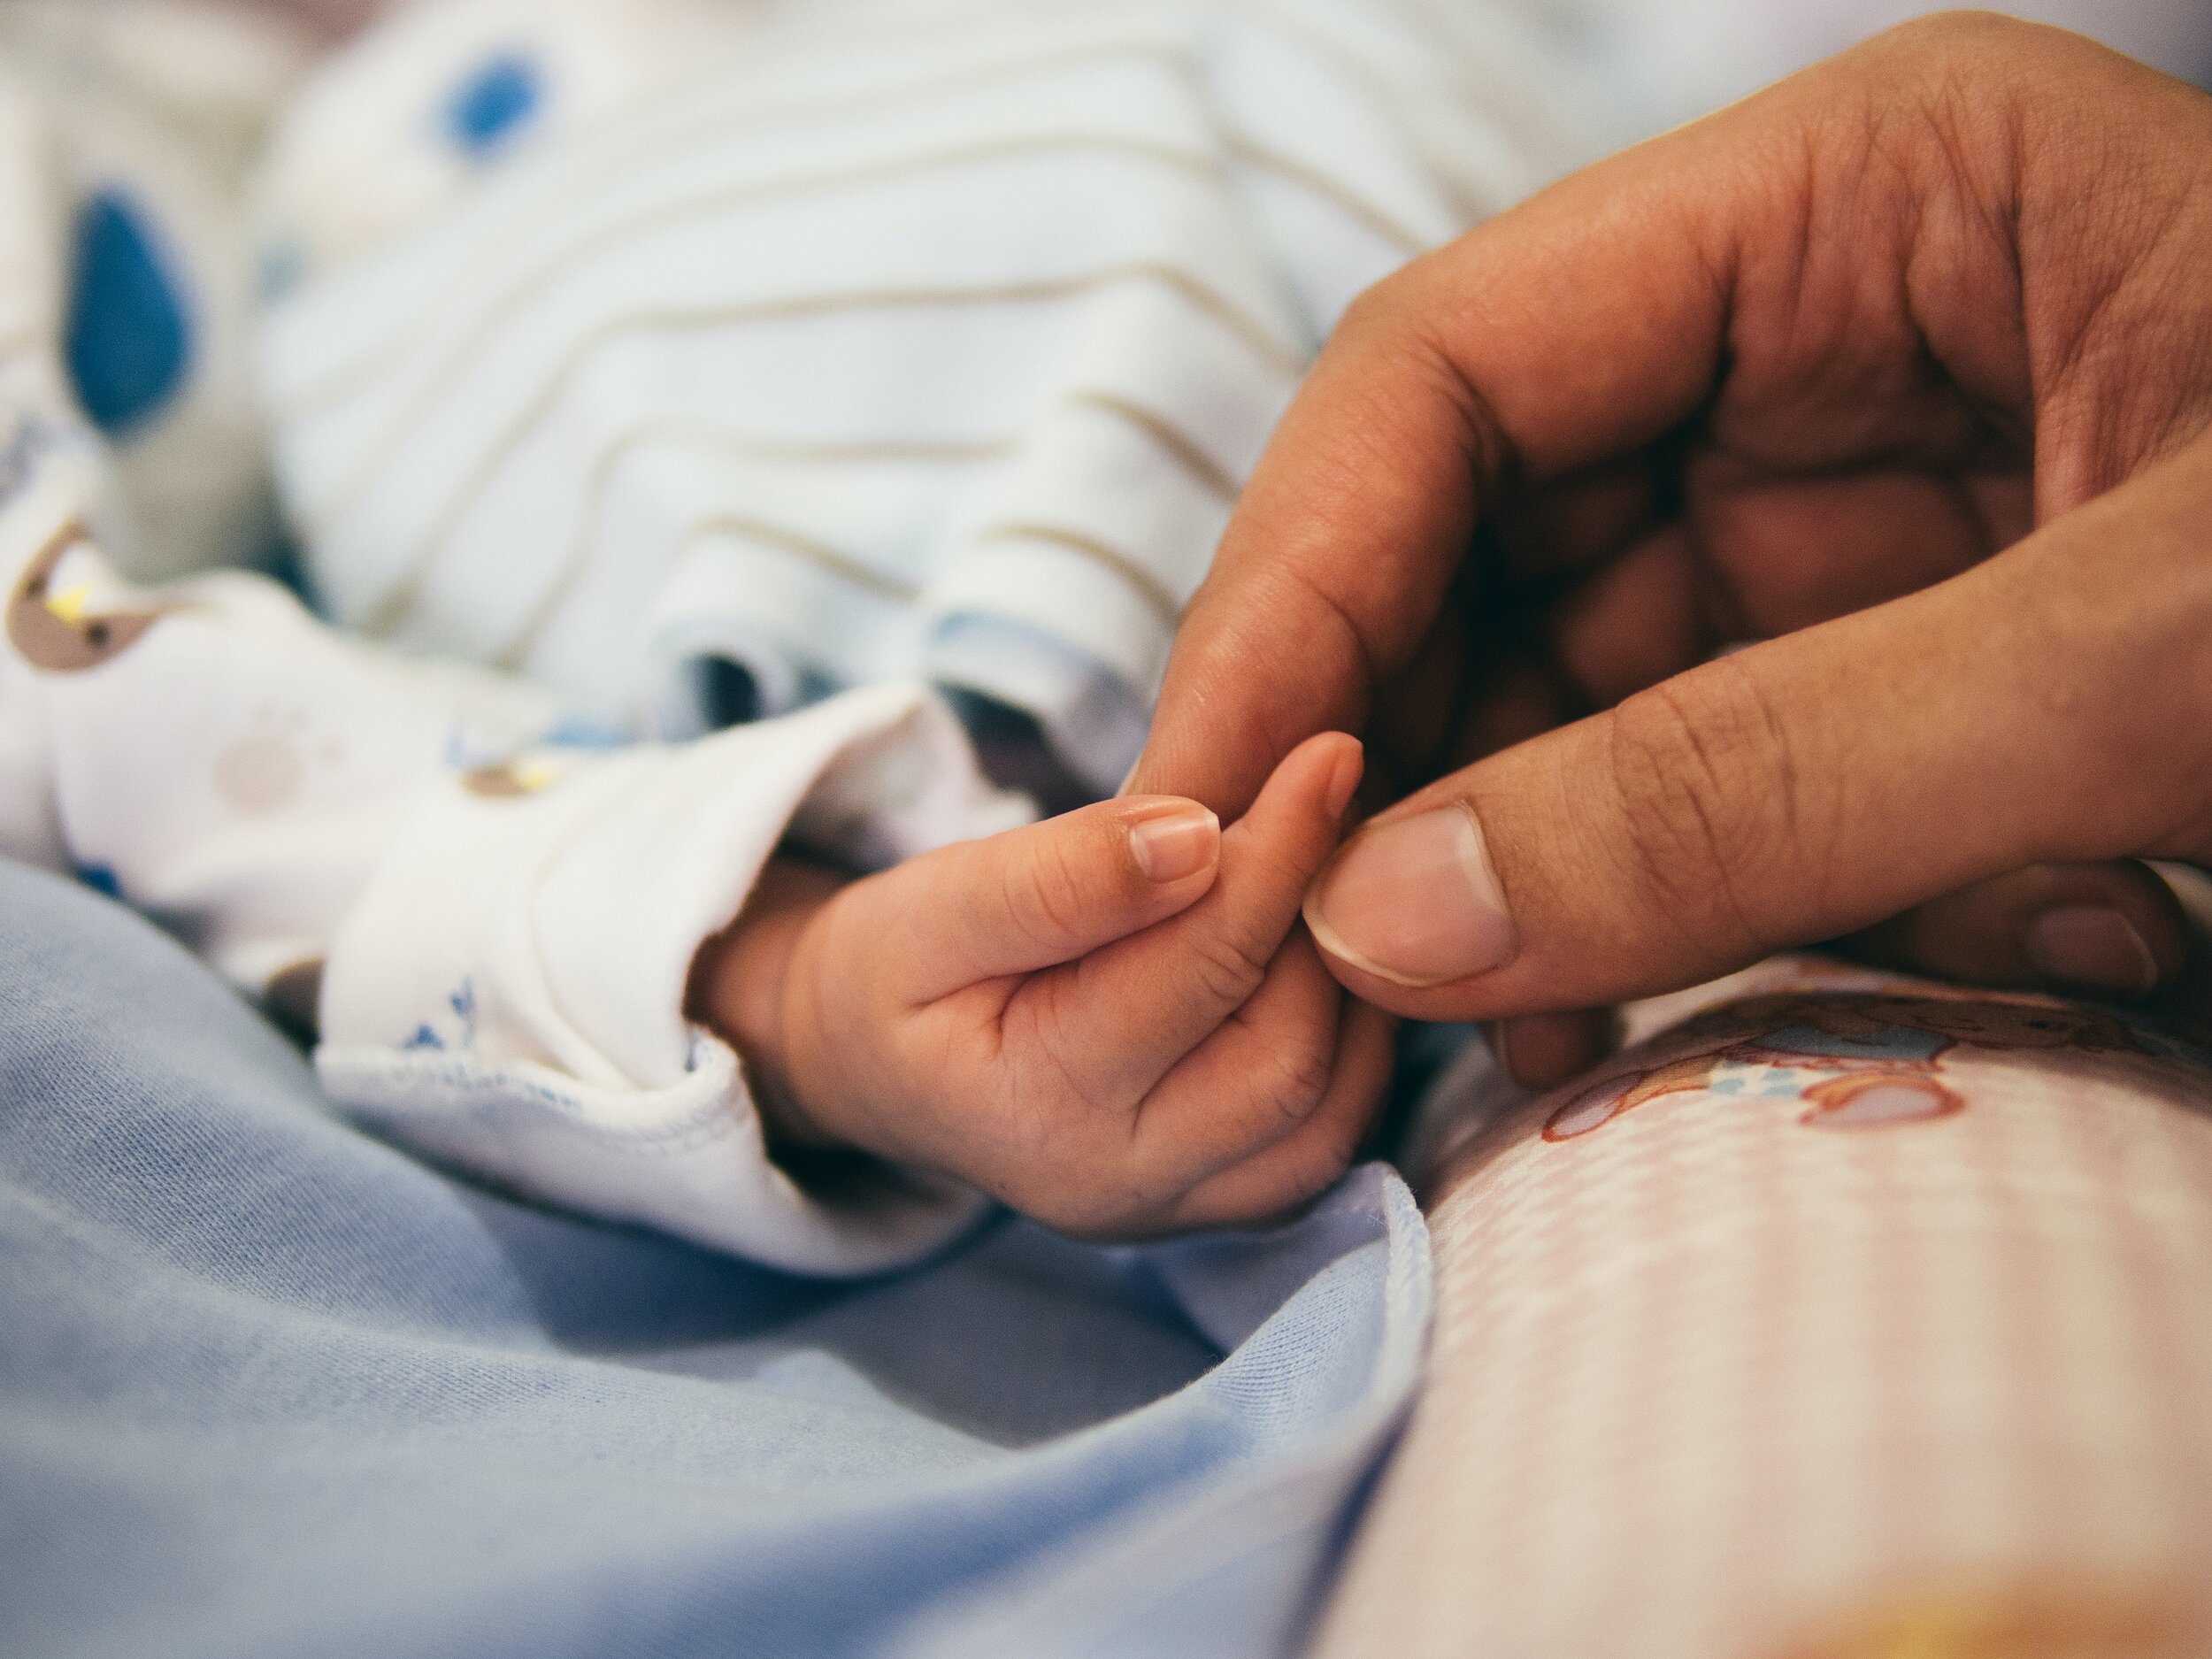
Photo Credit: Adita Romansa
8. Now you’re ready to bake both disks according to the package directions. I baked mine on an aluminum baking sheet that was covered in parchment paper for 15 minutes at 275 degrees fahrenheit. After they were baked, I let them cool completely. Taking the baking sheet in and out of the oven should be done by an adult.

A tip to help children string beads is to wrap the ends of the cord in tape. This will firm up the ends and make the beads glide on easier.
9. Now it’s time to string the charms and wooden beads onto the jewelry cord. I cut my cord to 36 inches and adjusted the length at the end. Let your child select the beads, and let them string it onto the cord. You can roll a piece of tape on the ends of the cord to make them a little firmer for stringing.

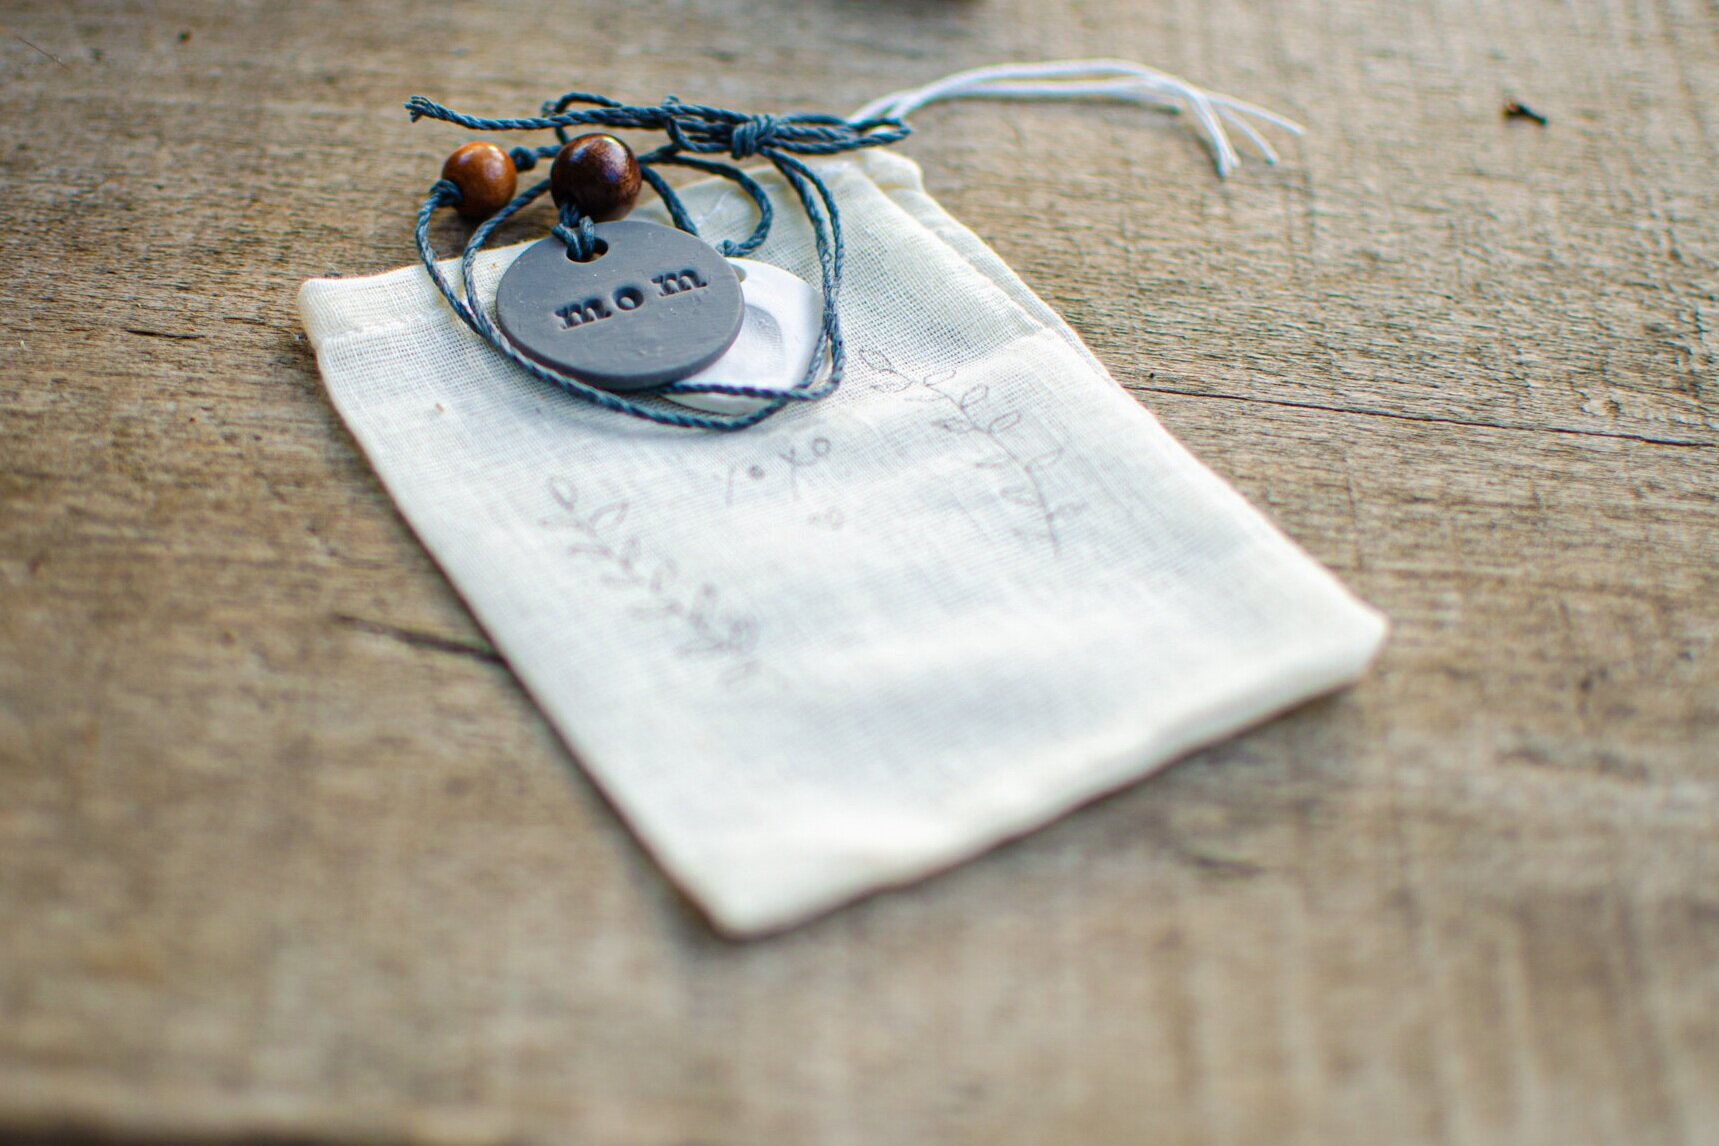
That’s it! The charm necklace is all done! These make sweet gifts too (maybe for a grandma, bubbe or special friend). If you give it as a gift, your child can decorate a small muslin or linen drawstring bag.
Happy Mother’s Day to all the sweet moms and imas out there. If you would like to celebrate ahavah and neshikot (love and kisses) with a little one, you can click here to learn how to make a puffy heart necklace. For more ideas to celebrate Mother’s Day, click here to make a DIY backyard flower arrangement and here for chenille stem flowers.
Be well, be safe and be loved ♥
~Jennifer


*Thank you to my dear friend, Dikla - one of the most loving moms I know - for introducing me to the song, Ima, Yekara Li.