


DIY: Felt menorah
A cute children’s menorah - made extra special - with happy and smiley colorful candle friends
One of my favorite Hanukkah traditions literally comes right out of a box! I’ve always loved boxes filled with colorful candles! One of my fondest memories of celebrating Hanukkah when I was a young girl, was looking into the box each day, deciding on our candle colors for that night, and then gently placing each one on our Hanukkah menorah.
A few years ago, I made a DIY Hanukkah menorah. The menorah is sweet, but my favorite part of this project is still the candles! I was so surprised (and overjoyed) last year when Parade Magazine included our Hanukkah menorah in their article 25 Bright DIY Hanukkah Candle & Menorah Ideas Seen on Instagram! Our DIY menorah and its candle friends are made with felt and decorated with bits of yarn and sparkly sequins. It’s playful and happy - and each year, when we take out, it just makes us smile.

DIY Felt Menorah with Candle Friends
One of the best things about this menorah (besides all the happy smiles) is even the smallest children can use imaginative play to safely experience “lighting” the candles each night of Hanukkah.

We thought it would be fun to share the process of making this sweet DIY menorah. Since there are a lot of little parts, this would be a wonderful project for small children to do with an adult (and if you’d like to skip all the prep work, and go straight to decorating, send us an email! We have a limited number of felt menorah craft kits available for purchase)! Let’s go make a felt menorah with happy colorful candles!
DIY Felt Menorah and Candle Friends

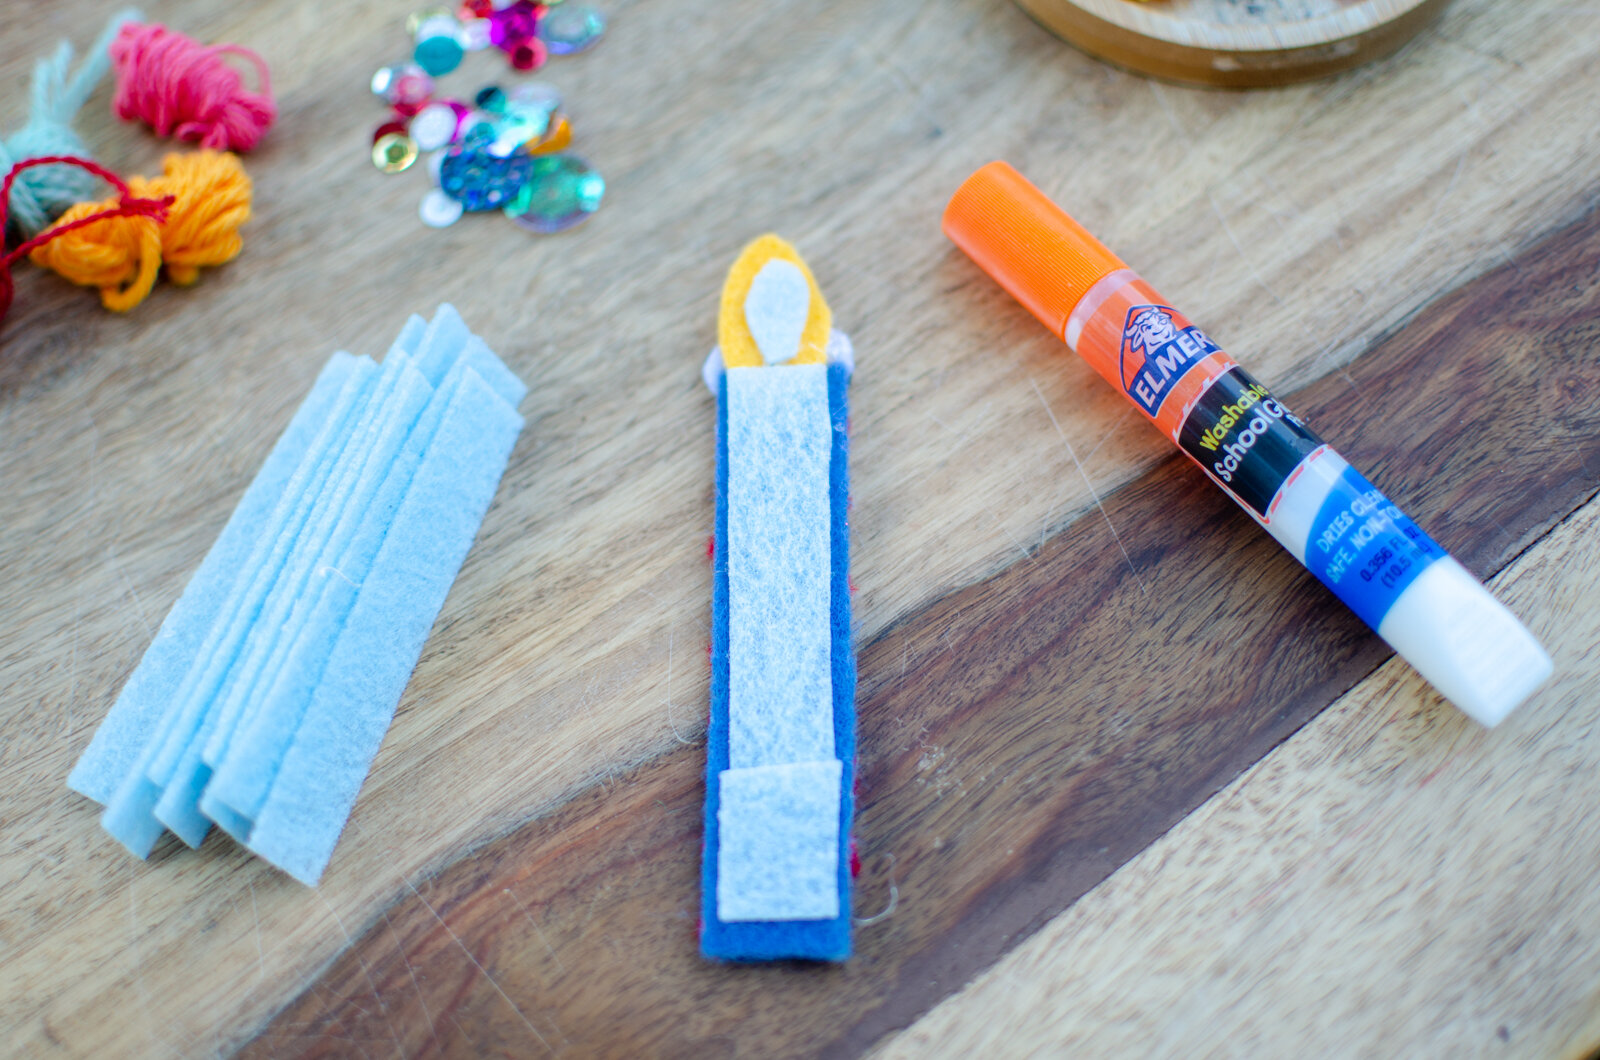
Here’s what you’ll need to make your own:
9” x 12” inch piece of felt (menorah base)
8 strips of felt in many colors - about 3.5” tall x 1” wide (candles)
1 strip of felt - about 4.5” tall x 1” wide (shamash - helper candle)
20 googly eyes (or felt eyes)
9 yellow candle flames cut from gold felt
9 happy smiles cut from pink or red felt
9 strips of scratchy stiff felt (about 3” tall x .75” wide)
Strips of yarn and sparkly sequins
Glue
Hot glue (optional - adults only)
Scissors
Here’s the process of how we made this cute little menorah and candle set:
1. We first made the menorah base by folding and sewing a 9” x 12” piece of felt and pinching and sewing the bottom to make a little stand. You can achieve super cute results by folding and hot gluing the piece of felt in half. It won’t have a stand, but it will be cute too! (If there is interest in a tutorial to just make the menorah base, let me know in the comments below)!

2. Have your child use googly eyes (or felt eyes - which are white and black circles cut from felt) and a red or pink smile to make a happy face on the menorah.

Oh so happy!
3. Now it’s time to decorate your candles - the best part of this project! Lay out all the candle strips of felt in a row, and pick one little felt strip to get started.

4. Start decorating! We used cut pieces of yarn and sequins for our decorations.This is an especially fun part of the project for small children.

For this little blue candle, we cut little strips of yarn, and glued them on a diagonal.

5. The blue candle needs a happy face, so…

Glue on the googly eyes and smile! (The candle flame gets glued to the back side of the felt strip, you can glue it now, or wait until Step 7 when we flip the candle over after the decorations are dry).

He’s so cute, and ready for a close up!

Hehe! So cute and happy!
6. Decorate the rest of your candles with yarn and sequins and set them all aside to dry.

The tallest candle on the left is the Shamash - the helper candle.
7. When it’s completely dry, flip them over and glue the scratchy and stiff felt to the backside of the candle strip. If you haven’t glued on your flame yet, now would be a good time to glue this on too! The scratchy stiff felt will help it the candles stay on the upright menorah base.
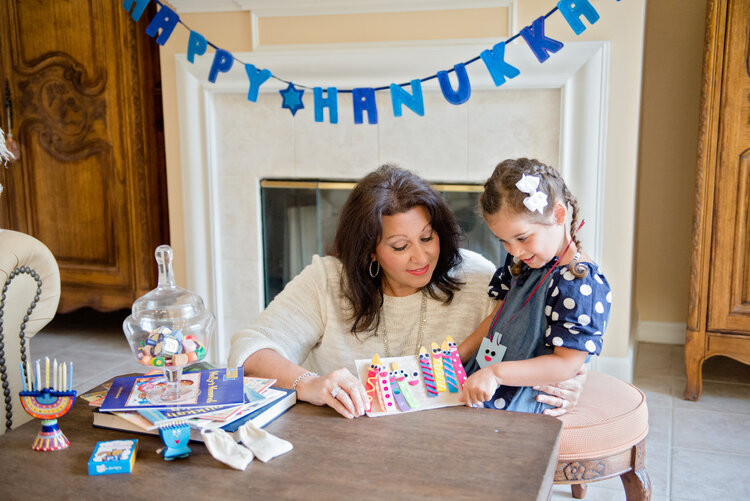
8. That’s it! You’re all done! You now have a cute, happy menorah with candle friends to help you celebrate Hanukkah!

Hi there! Happy Hanukkah!
When you’re done with your project, there’s a sweet little Hanukkah rhyme called Nine Little Candles that you can say (and act out) with your little one:
Nine little candles - what a sight!
They stand on the menorah and look so bright!
This one said, “I want to sway.”
This one said,”I’m melting away.”
This one said, “I’m still pretty tall.”
This one said, “I’m getting small.”
This one said, “I feel like skipping.”
This one said, “My wax is dripping.”
This one said, “I have no more light.”
This one said, “It’s the last Hanukkah night.”
The shamash said with a shout, “I’ll be the last candle to go out.!”
For eight long days we do burn.
We’ll see you next Hanukkah when we return!
Share with us some special ways your family celebrates Hanukkah in the comments below! For more Hanukkah fun, you can make an edible cookie menorah, yummy sufganiyot (mini donuts - this recipe is gluten free too), and since we’re cooking in the kitchen with little ones, here’s a fun DIY Hanukkah chef hat too, and DIY Dream dolls especially for the month of Kislev!
We hope you have a happy and colorful Hanukkah!


