


DIY: Coffee speckled clay menorah
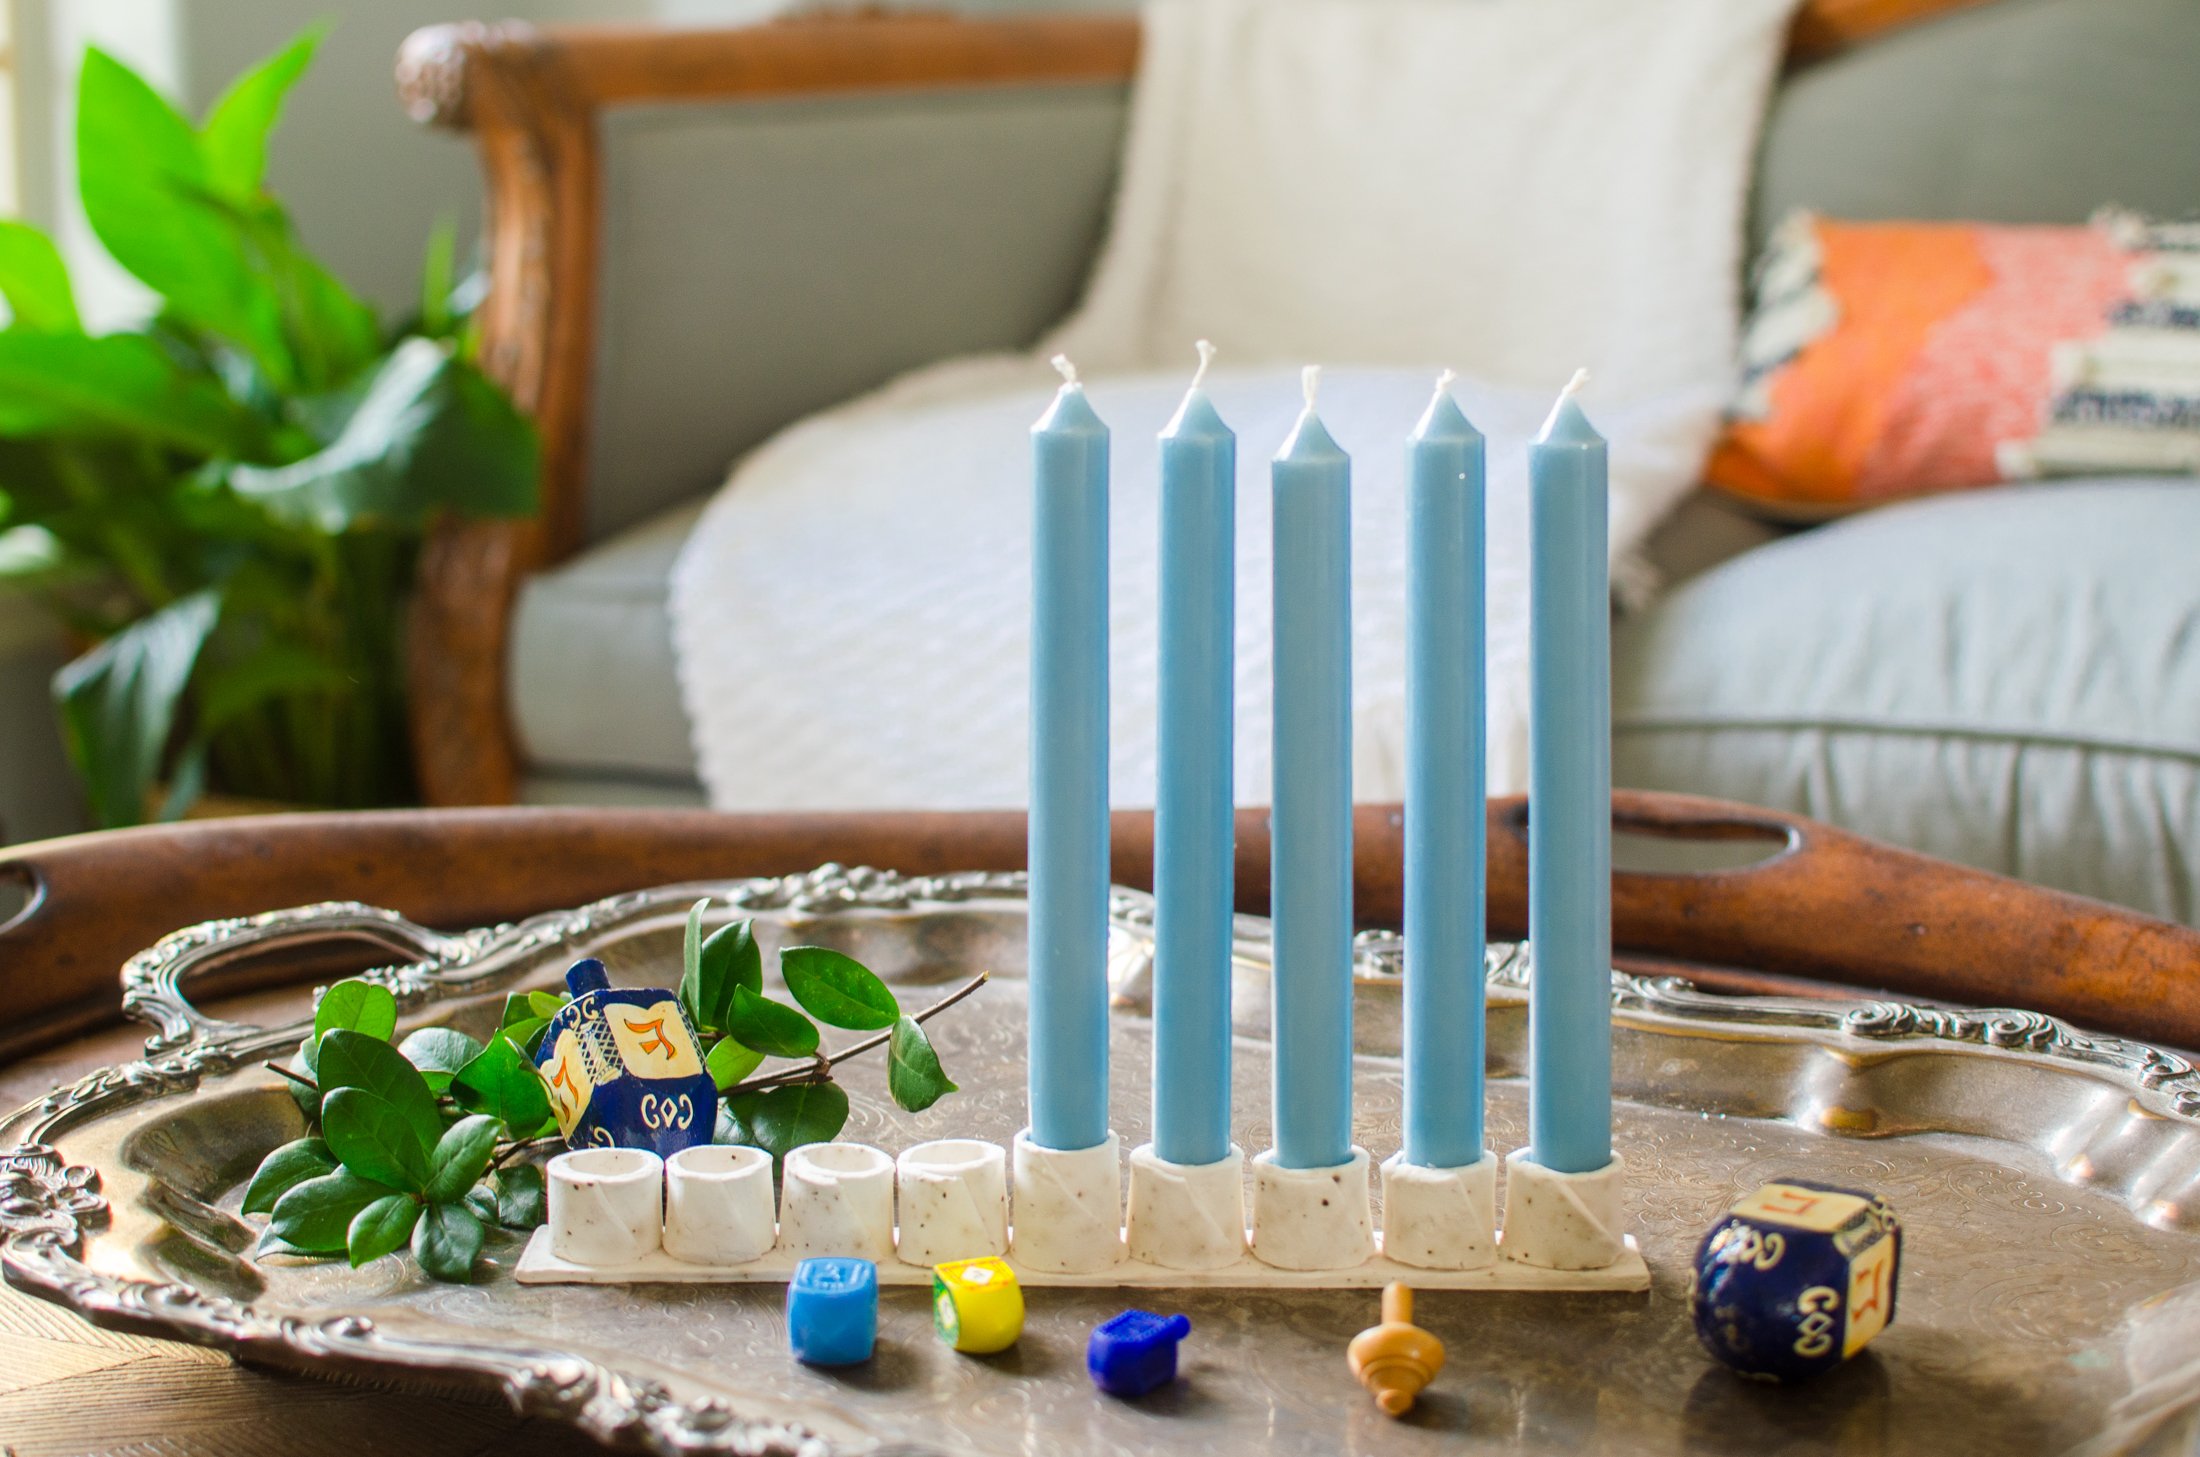
Strips of coffee speckled clay are made into a minimalistic menorah for Hanukkah
With Hanukkah a just few weeks away, we’ve been deep diving into some new DIYs for the Festival of Lights! Last year, we made edible cookie menorahs and felt menorahs with happy candles. I love creating activities with littles in mind, but every once in a while, I’ll do a project just for me, or something that I think a friend would enjoy, like this speckled clay menorah.

I had some air-dry clay from a wildflower pressed candle holder that I made a couple of months back, and felt inspired to make a menorah with the leftover clay. Afterall, we have dreidels made of clay for Hanukkah! So why not a clay menorah?
For this project, I decided to speckle the clay by mixing it with coffee grounds for an earthy colored tone. I kept the menorah design very simple by wrapping strips of clay around a wine cork to make the candle holders. I definitely recommend opening a bottle of wine (and having a glass) just for the wine cork (I know I did)!

There’s something that’s really lovely and calming about working with clay, and if you’d like to make your own menorah, I share the steps (and some lesson-learned tips) below.
Coffee Speckled Clay Menorah

Here’s what you’ll need to make your own menorah:
Air-dry clay
Ground coffee grounds (about a tablespoon or two)
Wine cork
Rolling pin
Exacto knife
Small bowl of water
Optional:
Cutting mat
Here’s how to make it:
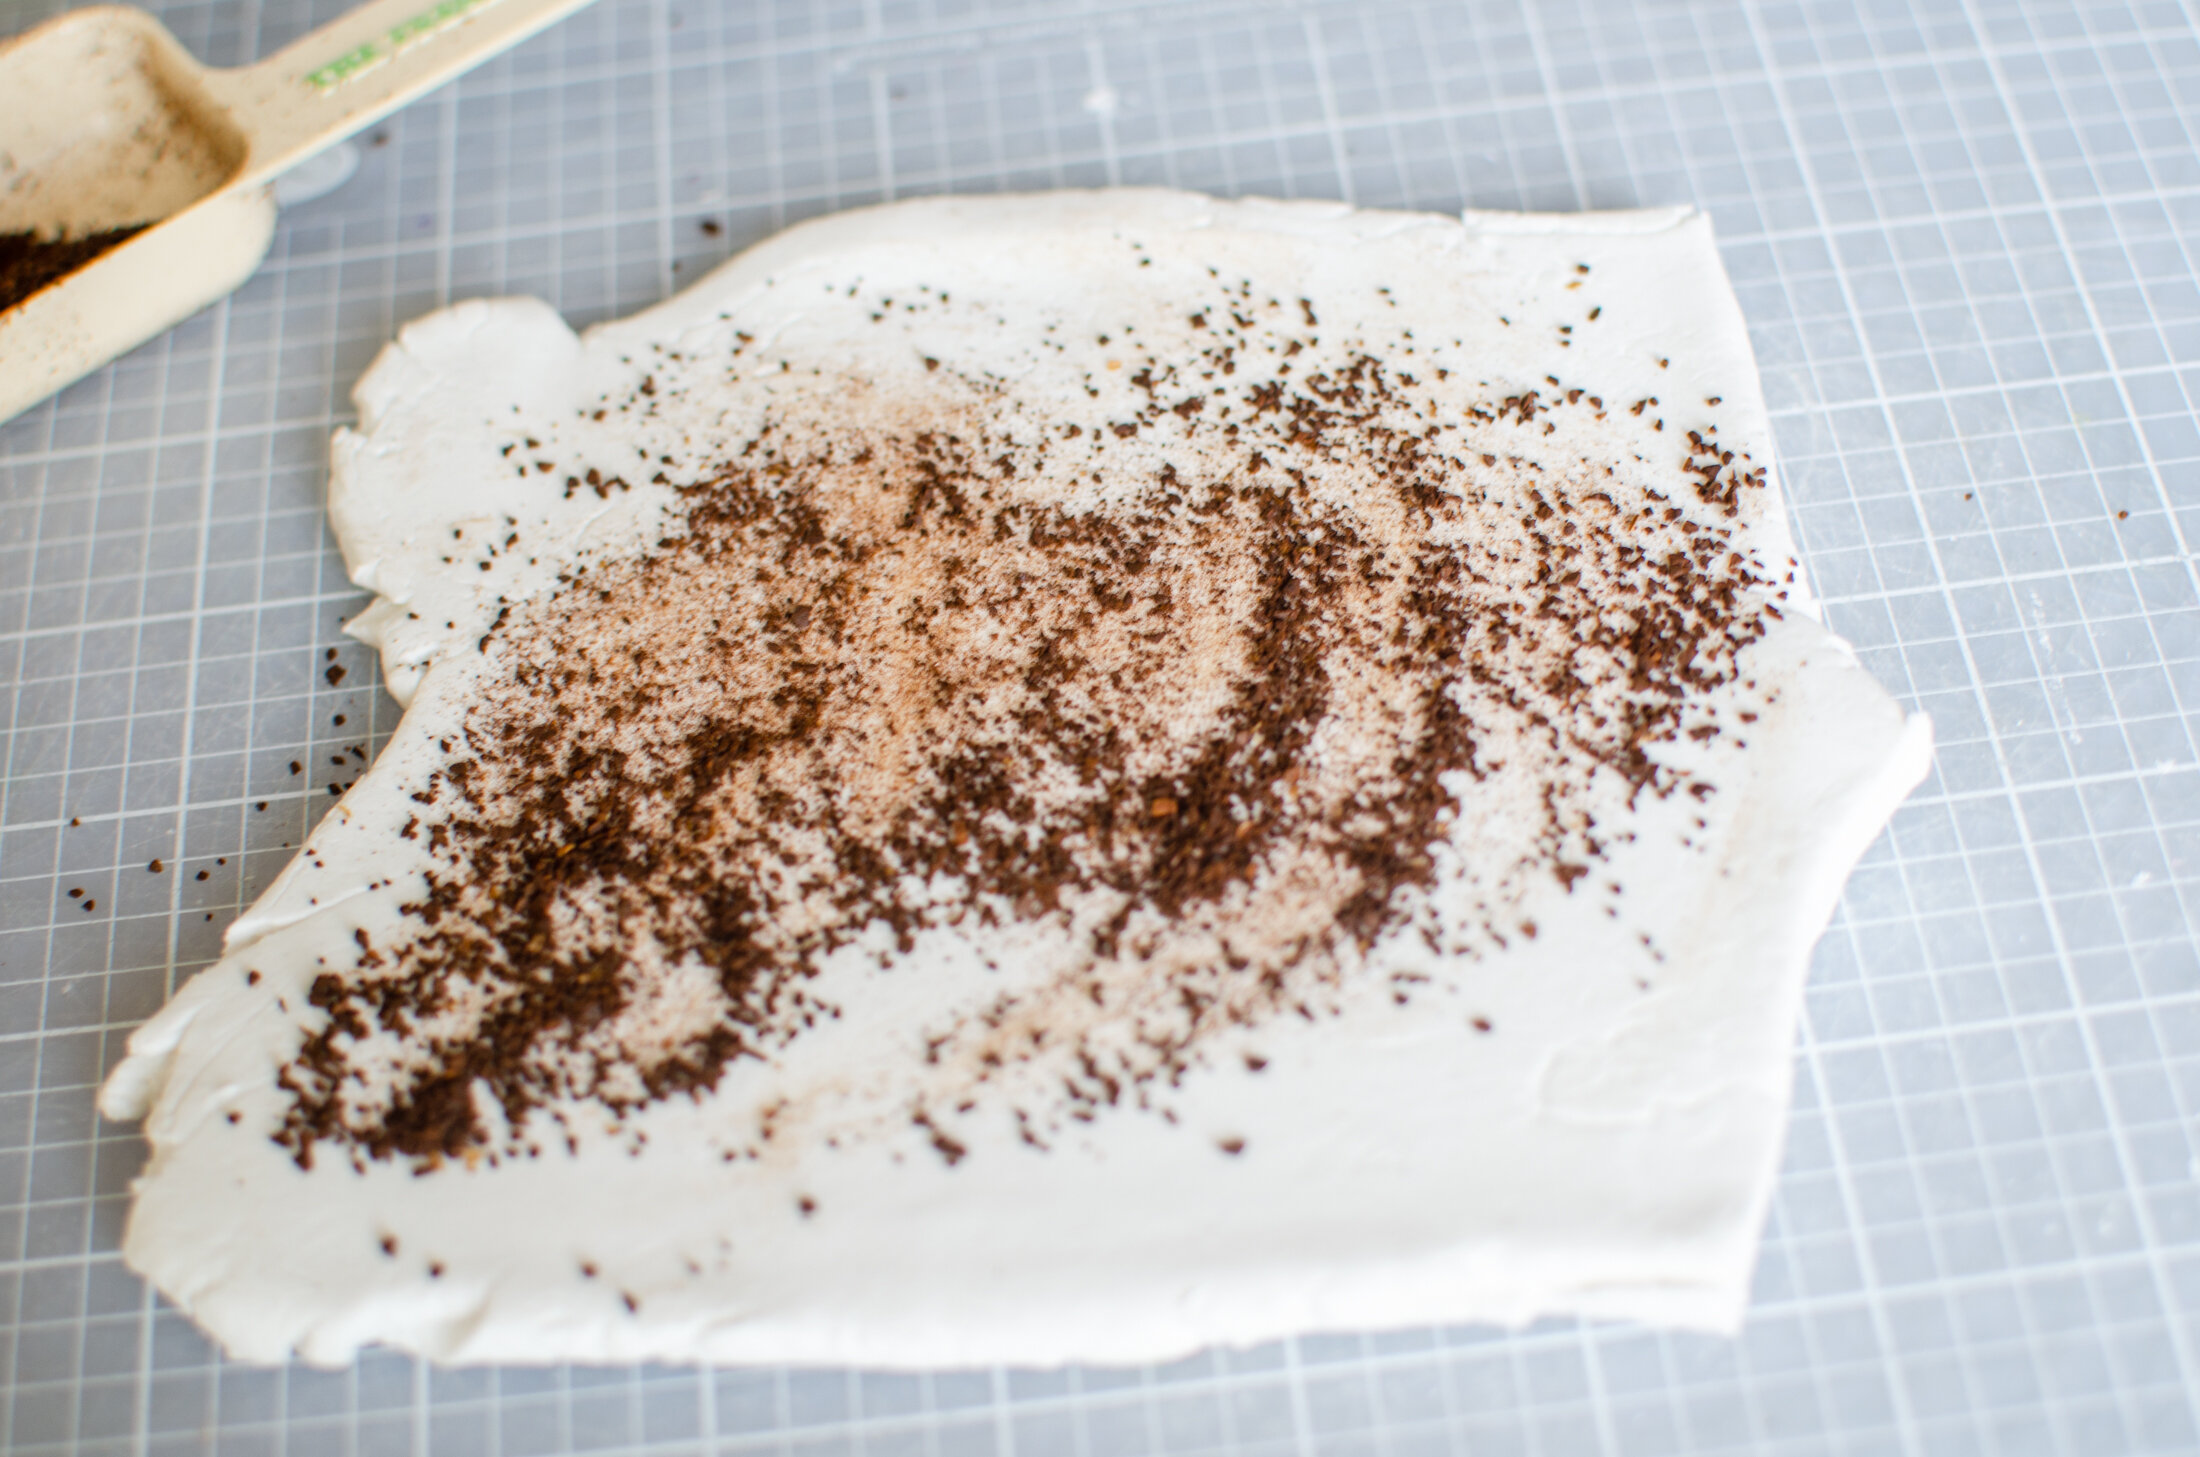
1. Begin by speckling your clay for the candle holders. I rolled a large handful of clay flat, and spread the coffee grounds on top. Then I folded it up, and folded again, and worked the grounds into the clay until they were evenly distributed. Be sure to speckle enough clay for the 9 candle holders and the menorah base. I didn’t have enough for the base and had to speckle up a second batch of clay.
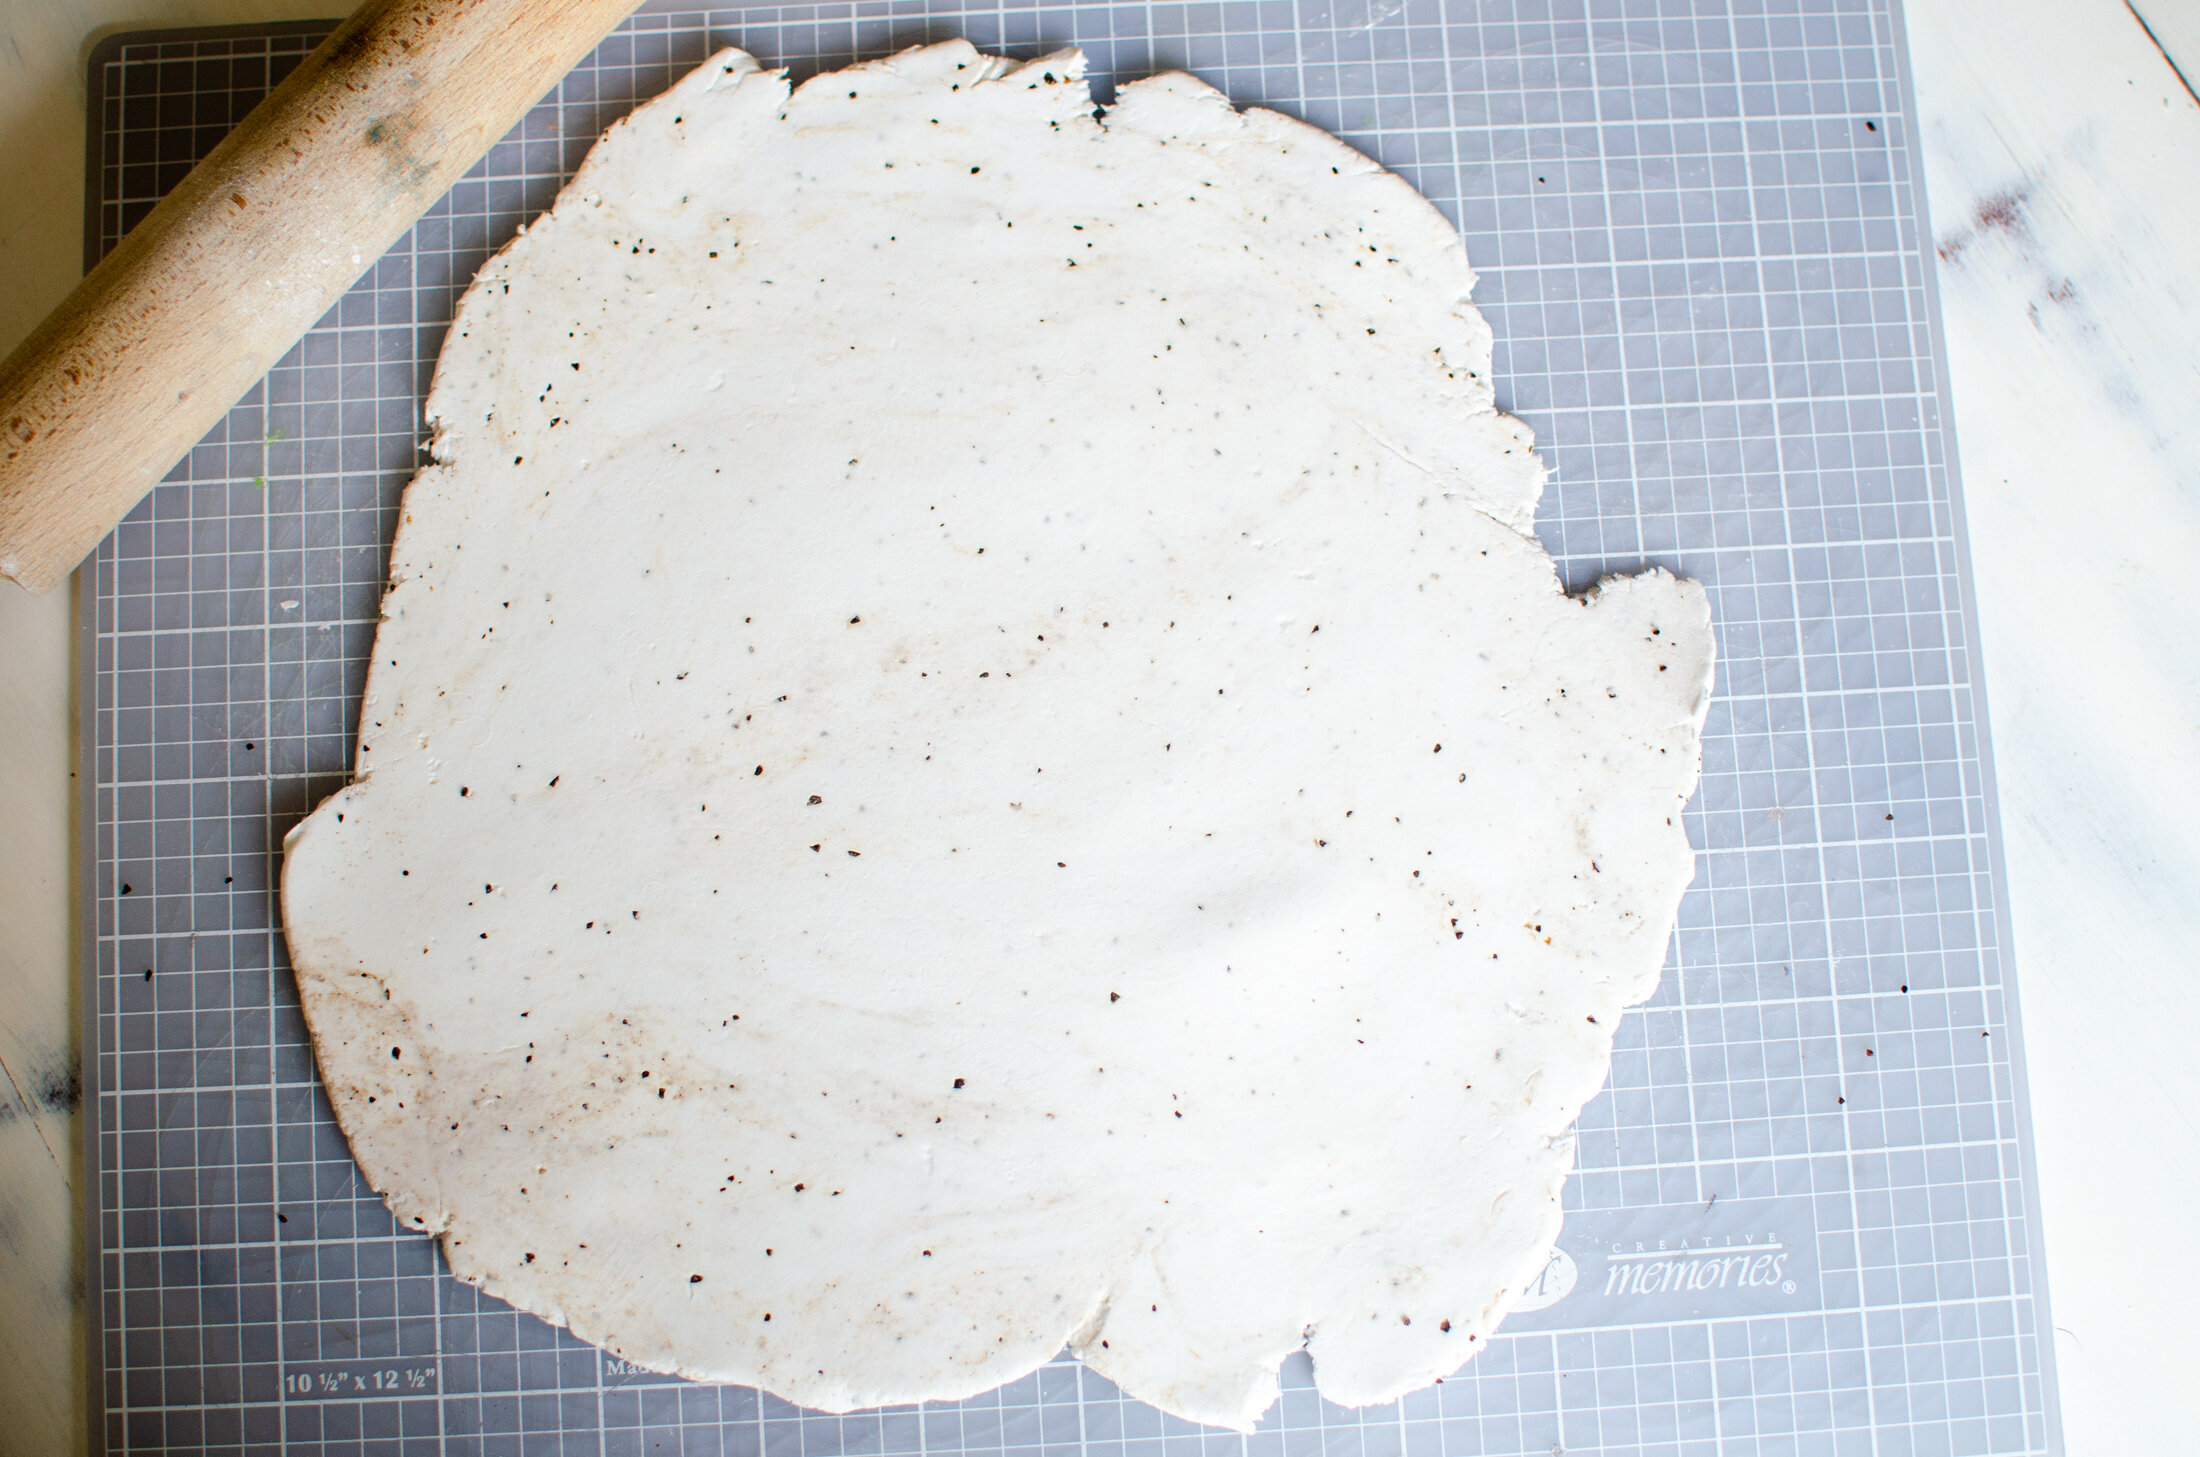
2. When your coffee is mixed in, roll your piece out in all directions to about 1/8 of an inch thickness.
3. Cut 9 strips of clay long enough to generously roll around your wine cork. My strips were about 1” by 4 1/4” long with an angle on one side. I planned on the Shamash (helper) candle to be a little taller than the rest.

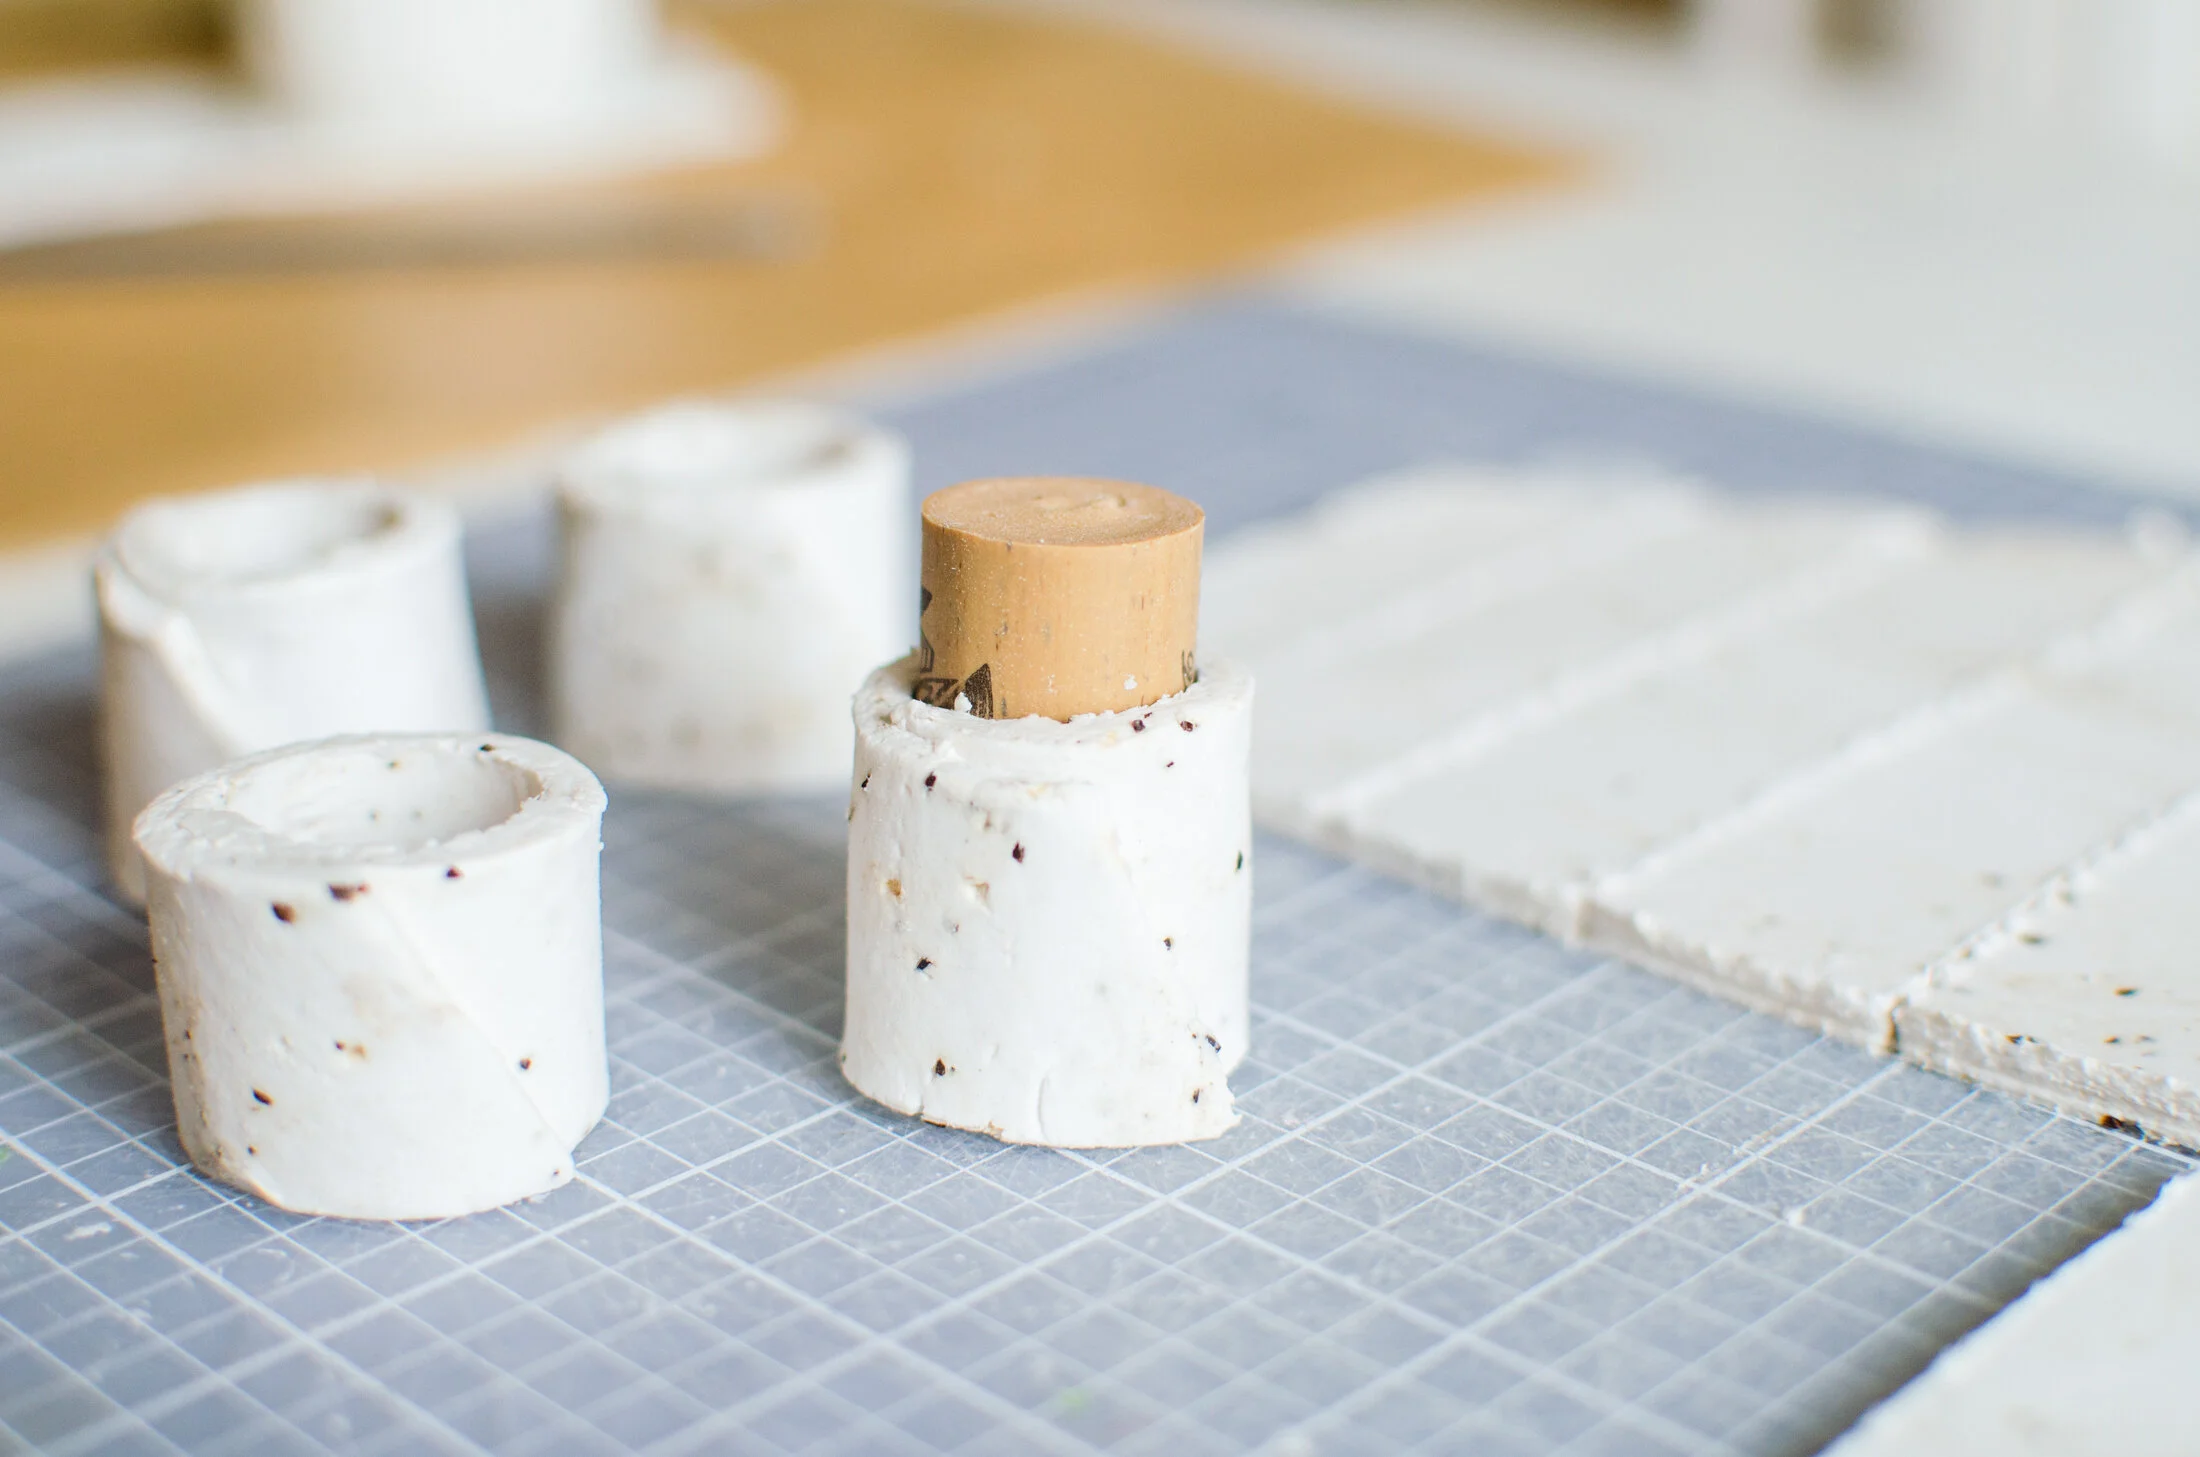
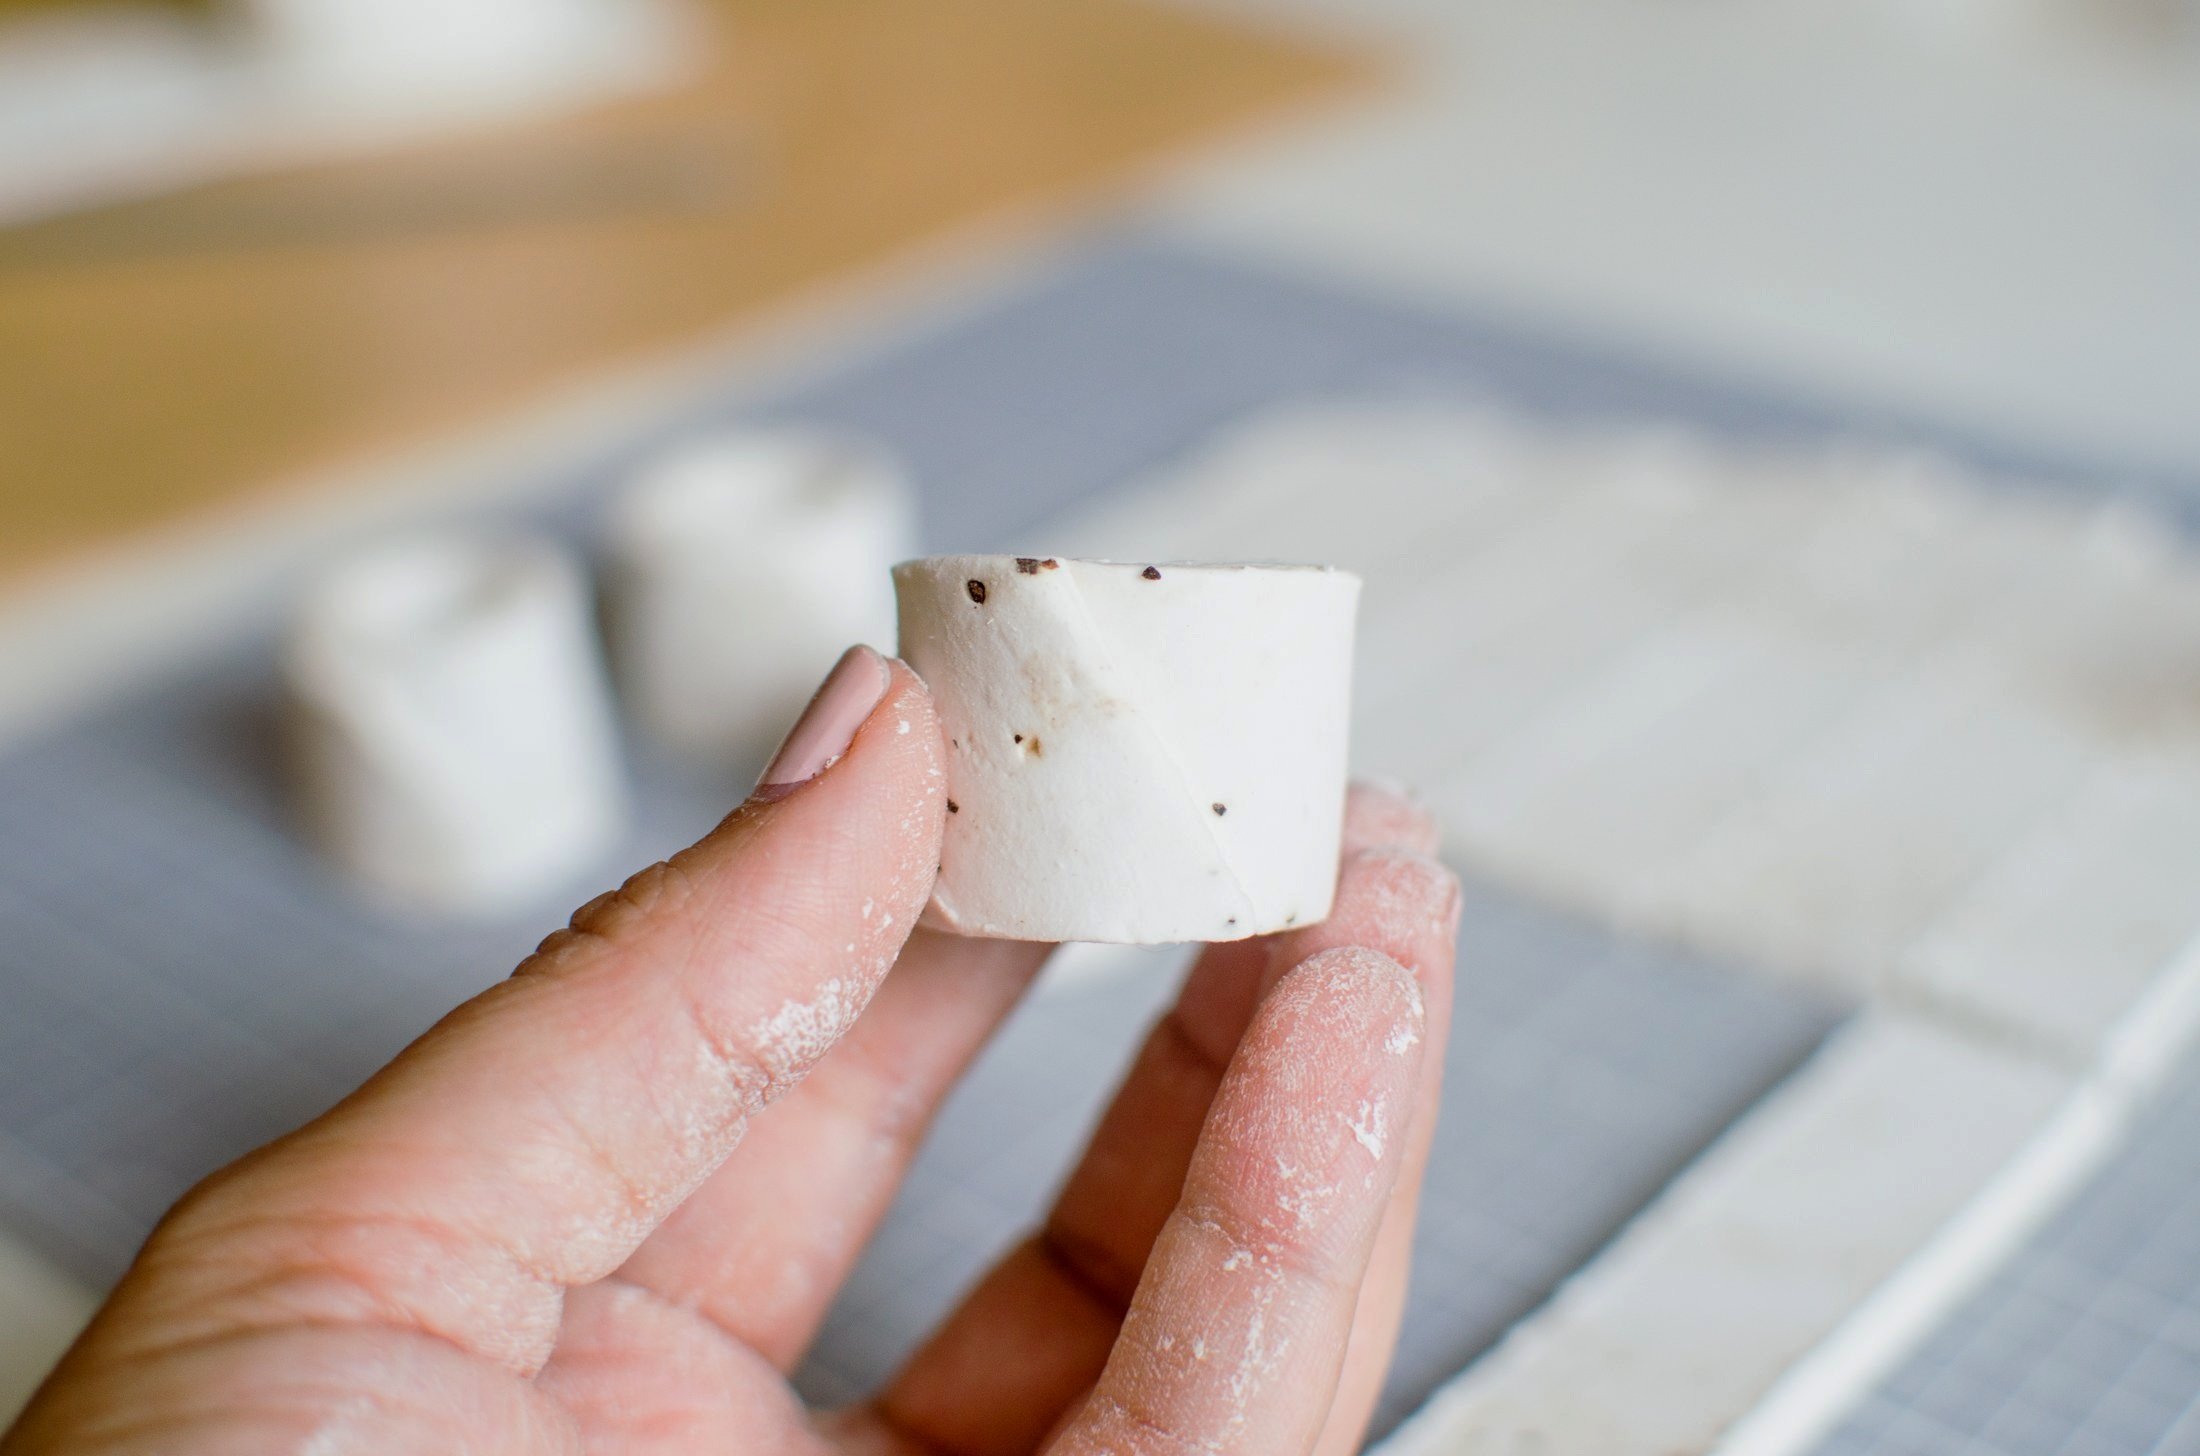
4. Wrap each strip of clay around the wine cork starting with the straight side to create a tube. The angled side was on the outside of the candle holder. Use a drop of water to smooth out any rough edges. Air-dry clay shrinks a little when it dries, so be sure to keep this in mind as you wrap your candle holders.

5. Roll out a second piece of clay about 1/4” thick for the base. Ours was about 1 1/2” wide by 12” long.

6. Begin assembling your candle holders onto the base. I did this by dampening the bottom of the tube and then gently pressing it into the clay base. I started with the Shamash candle holder in the center and then placed 4 candle holders on each side. It’s a good idea to assemble your menorah on a cutting mat or similar surface. This will allow you to easily move it (if it needs to be moved to another area) while it’s drying.

Don’t become too discouraged if you can’t completely meld the bottom of the candle holders into the base. It will still hold together when it dries. When you’re done assembling, it will look like the photo below.

Now comes the hard part, waiting for the menorah to dry! It took about 4 days to completely dry and stiffen up. I love how it turned out, and candle holders made from a wine cork are just the right size for a taper candles.
Now that I’ve worked with clay on a few projects, I think it’s definitely important to stress that air-dry clay shrinks in all directions as it dries. I used the sculpey brand, and if I have another clay project, I would try a higher-end brand. In the meantime, I still have some leftover clay, so don’t be surprised if you see another post for speckled clay dreidels!
I love finding new ways to celebrate a holiday, whether it’s for adults or littles. How about you? Have you found any new ways to celebrate Hanukkah? Let us know in the comments!
For more ideas to celebrate, we share our Hanukkah Round-up with activities, recipes and DIYs for your entire family, and if you’d like another “adult” project for this time of year, see our 100 Blessings necklace tutorial. It’s a sweet way to “count your blessings” right before Thanksgiving and Hanukkah (and we have a kids version too)!

Hanukkah is a special time of light and miracles, and I hope that the light from your menorah fills your home with warmth and love.
Chag Sameach and Happy Hanukkah!
~Jennifer


