


DIY: Vintage paper garland
Vintage papers are repurposed into decorative garlands for Tu B’Shevat and Spring
It’s a cold and rainy day today - the perfect day for staying inside and crafting! One of my favorite “go to” art mediums is paper - especially sheets of paper that we can repurpose from old books. My girls and I love an outing to our local library. Ours has a small retail store, where you can find all kinds of vintage books, maps and sheet music, all for under $1.

When I saw these vintage paperback books written in Hebrew, I knew that they would make a lovely paper craft! My friend Aleah and I stumbled upon paper garlands made from pages of old books in an art shop some time back, and we decided then that we would have a day to craft our own decorative paper garlands. Since it was right after Hanukkah and before Tu B’Shevat (The Jewish Birthday of the Trees - a perfect time for using recycled paper), we made our garlands with silhouettes of birds and leaves (but you could use any silhouette shape that you’d like)!

I love doing this as a “grown-up” project with girlfriends, but littles should be able to make paper garlands too, especially when the shapes are pre-cut.
Whatever season you’re celebrating, this is a wonderful and versatile craft! It also makes you feel good that you’re giving life to something old and transforming it into beautiful art that can be enjoyed! So let’s go make some paper garlands from vintage papers.
DIY Vintage Paper Garland

Here’s what you’ll need to make a 6’ garland:
6 1/2 feet of twine
Paper from vintage books, sheet music or maps
Bird and leaf silhouettes (or any other shape you’d like!)
Wooden Beads
Scissors
Glue stick
Marker
Here’s how we made our paper garland:
1. First start with your shapes! We found our bird and leaf silhouettes by doing a quick internet search and printing the silhouettes. Next remove some pages from your book and trace the shapes onto the paper.

2. Next cut your shapes. We cut about 20-24 shapes for our 6 foot garlands. Tip: stack a several book pages together before cutting. The paper is thin, and it will make your cutting go by a little faster.

3. When your shapes are cut, it’s time to make the garland! Start by measuring about 6 1/2 feet of twine and make a loop at one end for hanging.

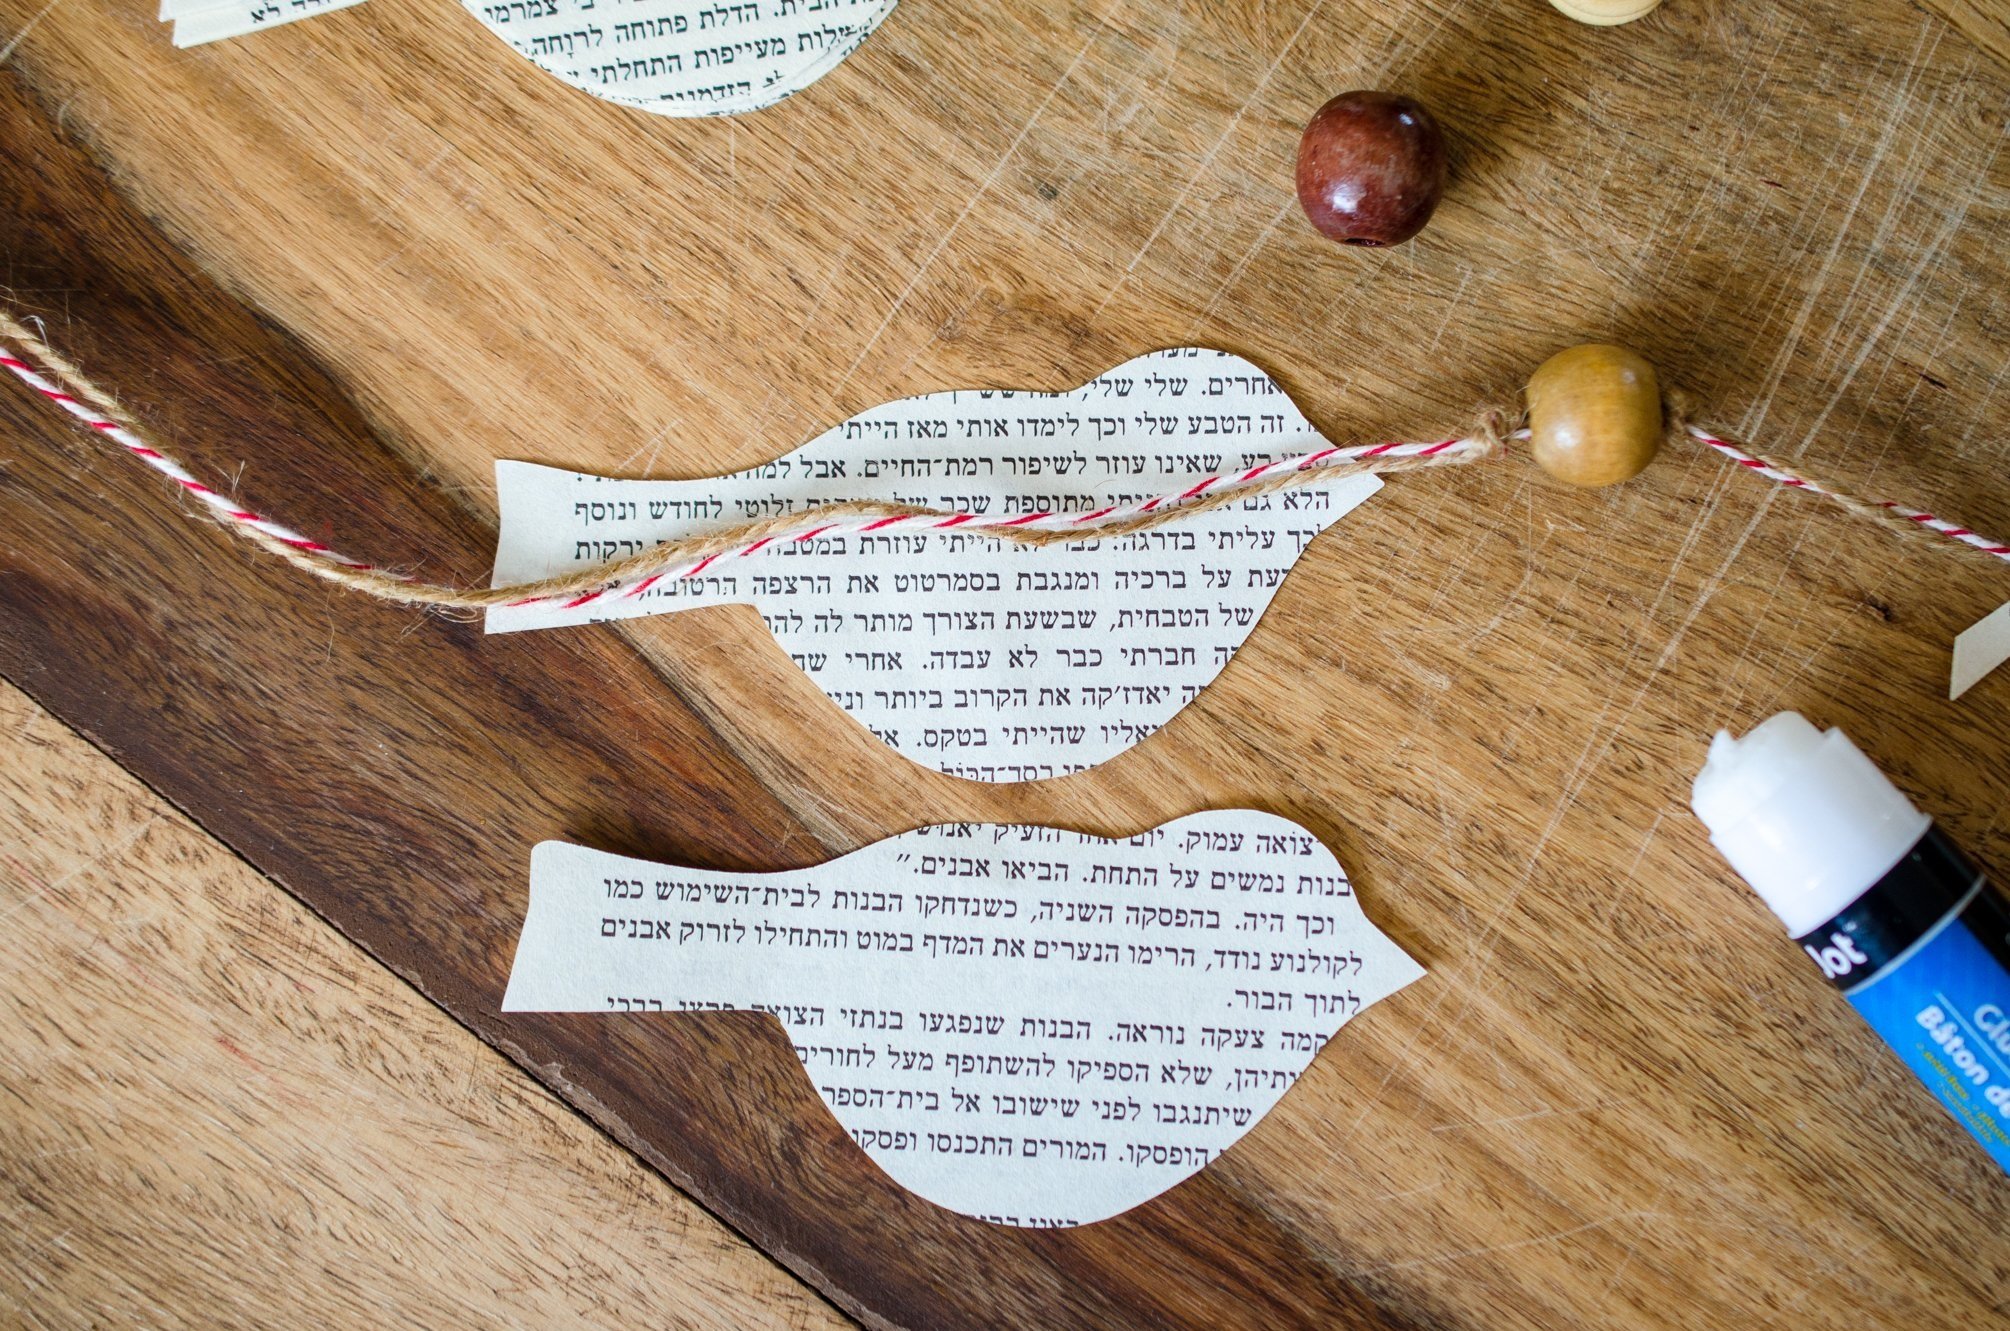
4. Attach the birds and leaves organically, without any specific spacing. To start, take two of the same shape (a top and a bottom). You’ll sandwich the twine between both shapes. Place one shape (the bottom) under the twine and apply a thin layer of glue from the stick over the surface of the shape. Then take your second shape (the top), line it up with the bottom and gently press and seal it over the bottom shape.

In this photo, you can see that the twine is secured in between the top and bottom leaf shapes. If you’re working with children, they can help place the shape under the twine and spread the glue. An adult can help line edges of the two shapes together, and littles can also press the two shapes together once glued.

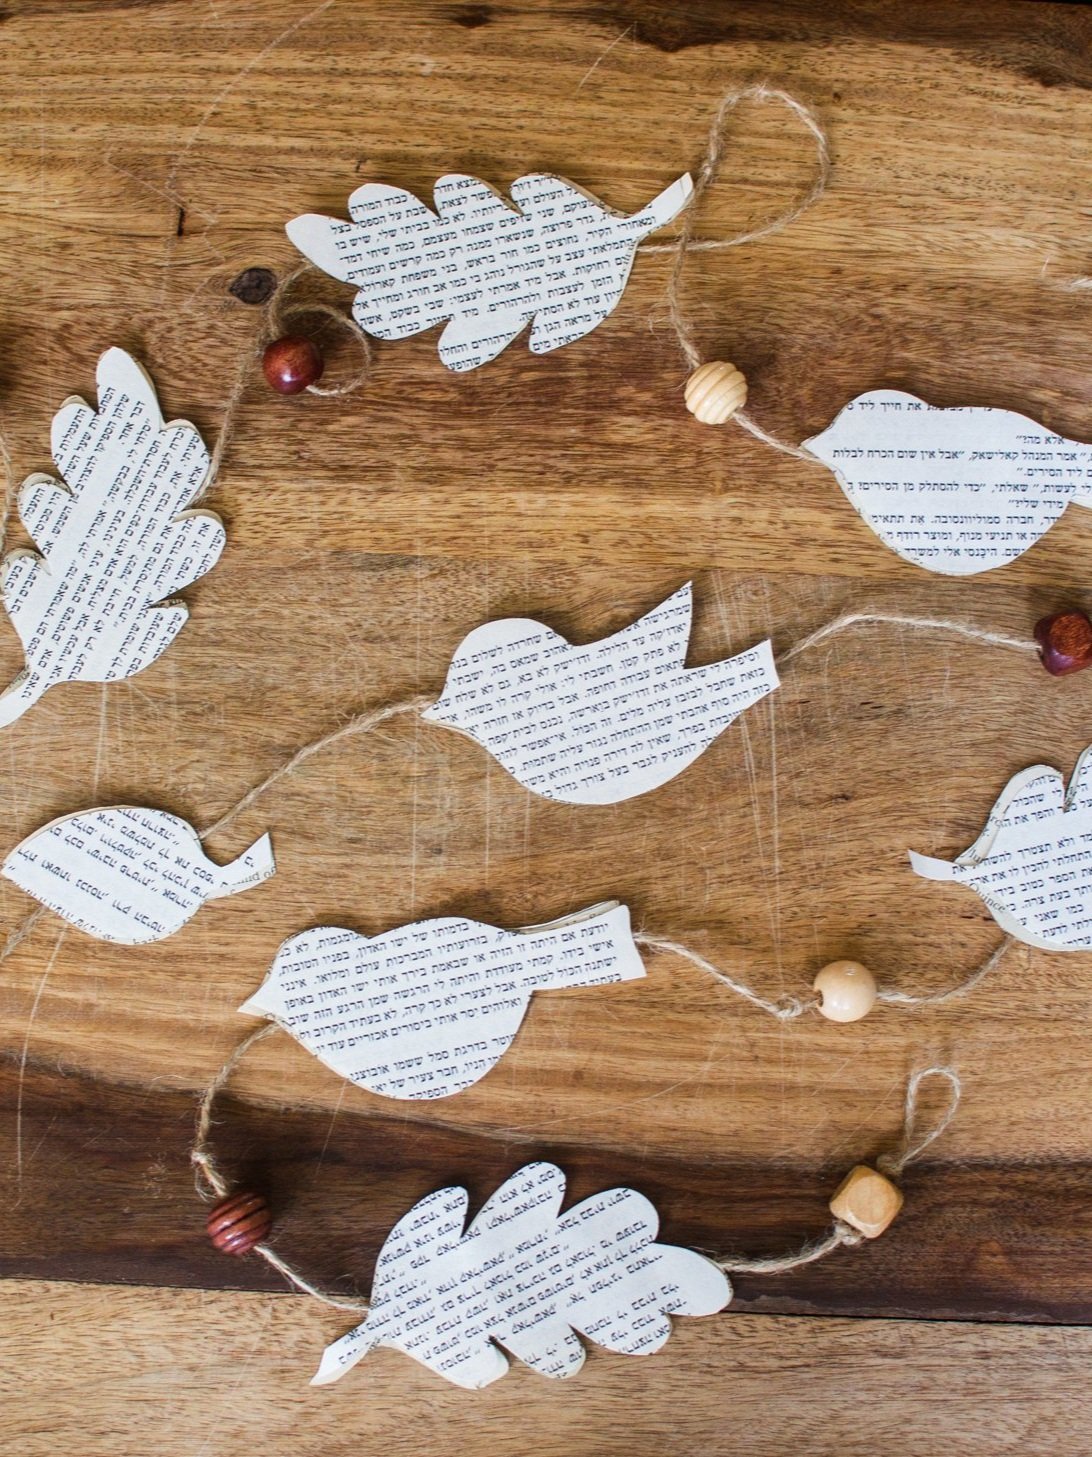
5. After the leaf is glued to the twine, I like adding wooden beads in between the silhouettes.

Make a loose knot on the twine, then slide the bead on and secure it into place with a second knot on the other side of the bead.

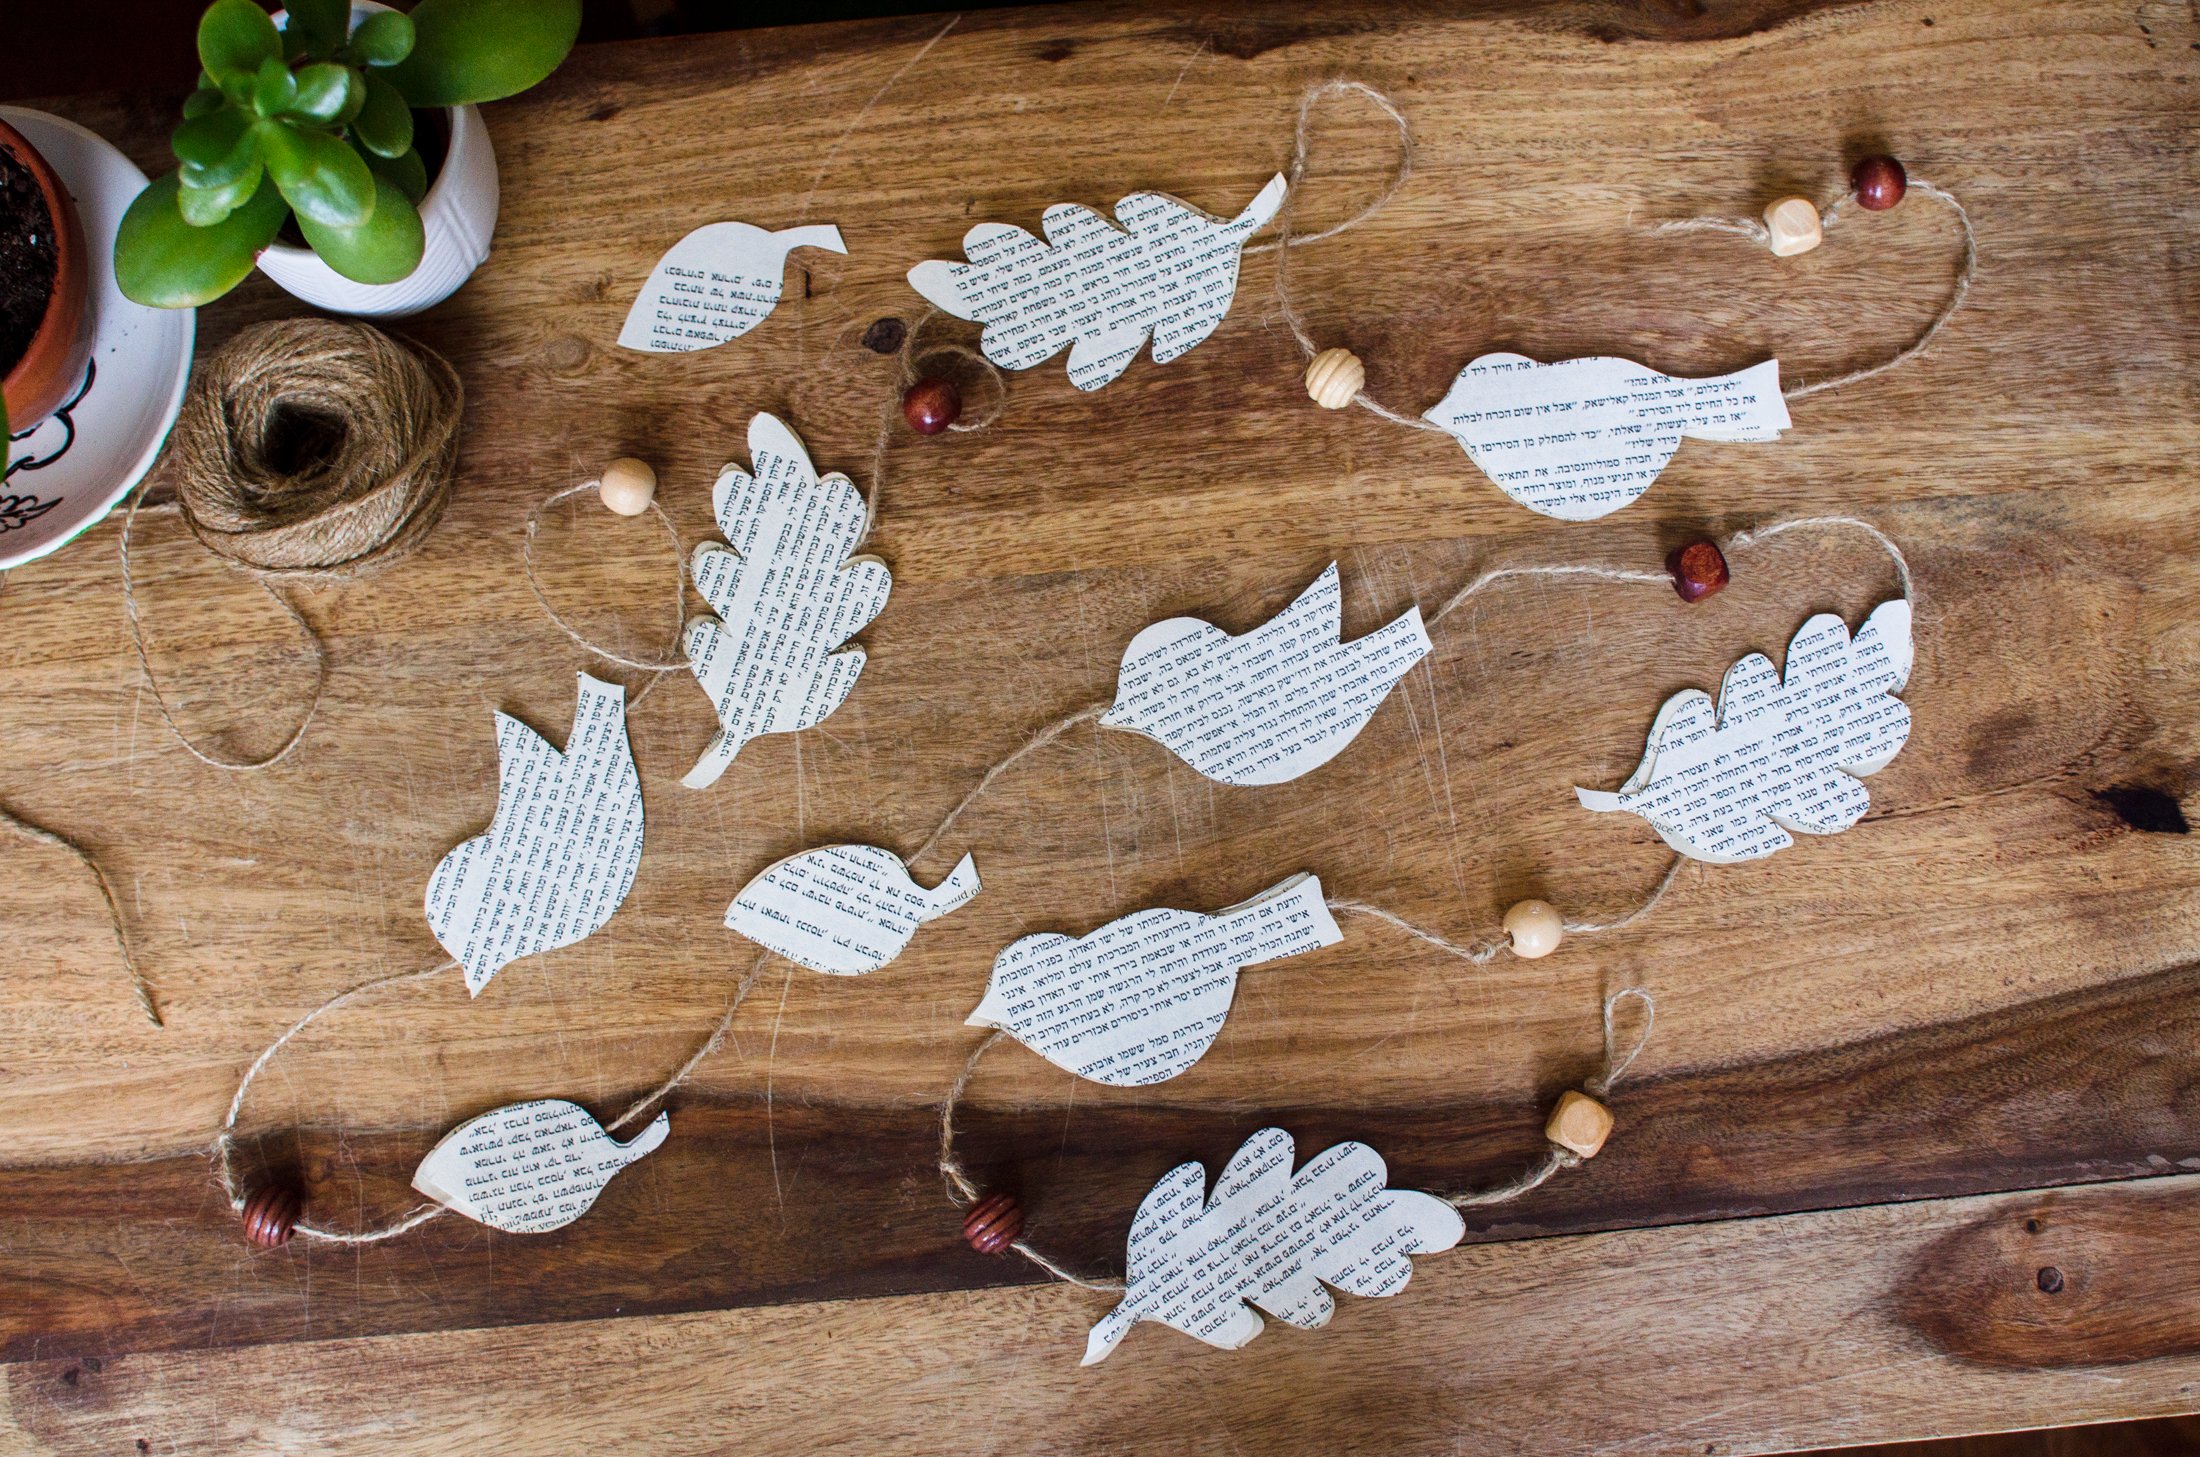
6. Keep attaching birds, leaves and beads (or any other shape that you are using) until you near the end of your twine.

7. Then finish the garland with a second loop for hanging, and yay, you’re all done!

Recycling is a Jewish value, and giving life to to old papers, (especially ones that were headed for the trash) is the Jewish value bal tashchit (not to destroy waste items that can be recycled). Reusing our resources is also a wonderful way to take care of our earth. If you’re making paper garlands from recycled papers with children, you can tell you’re little that they’re a hero - a “Guardian of the Earth,” the Jewish value Shomrei Adamah!
I loved spending the day with Aleah making paper garlands. Even though it was cold rainy, the paper birds felt happy and optimistic for sunny days to come! She hung her garland up right away too, and it looked perfect right on her fireplace mantel.

Aleah’s paper garland on her fireplace mantel.
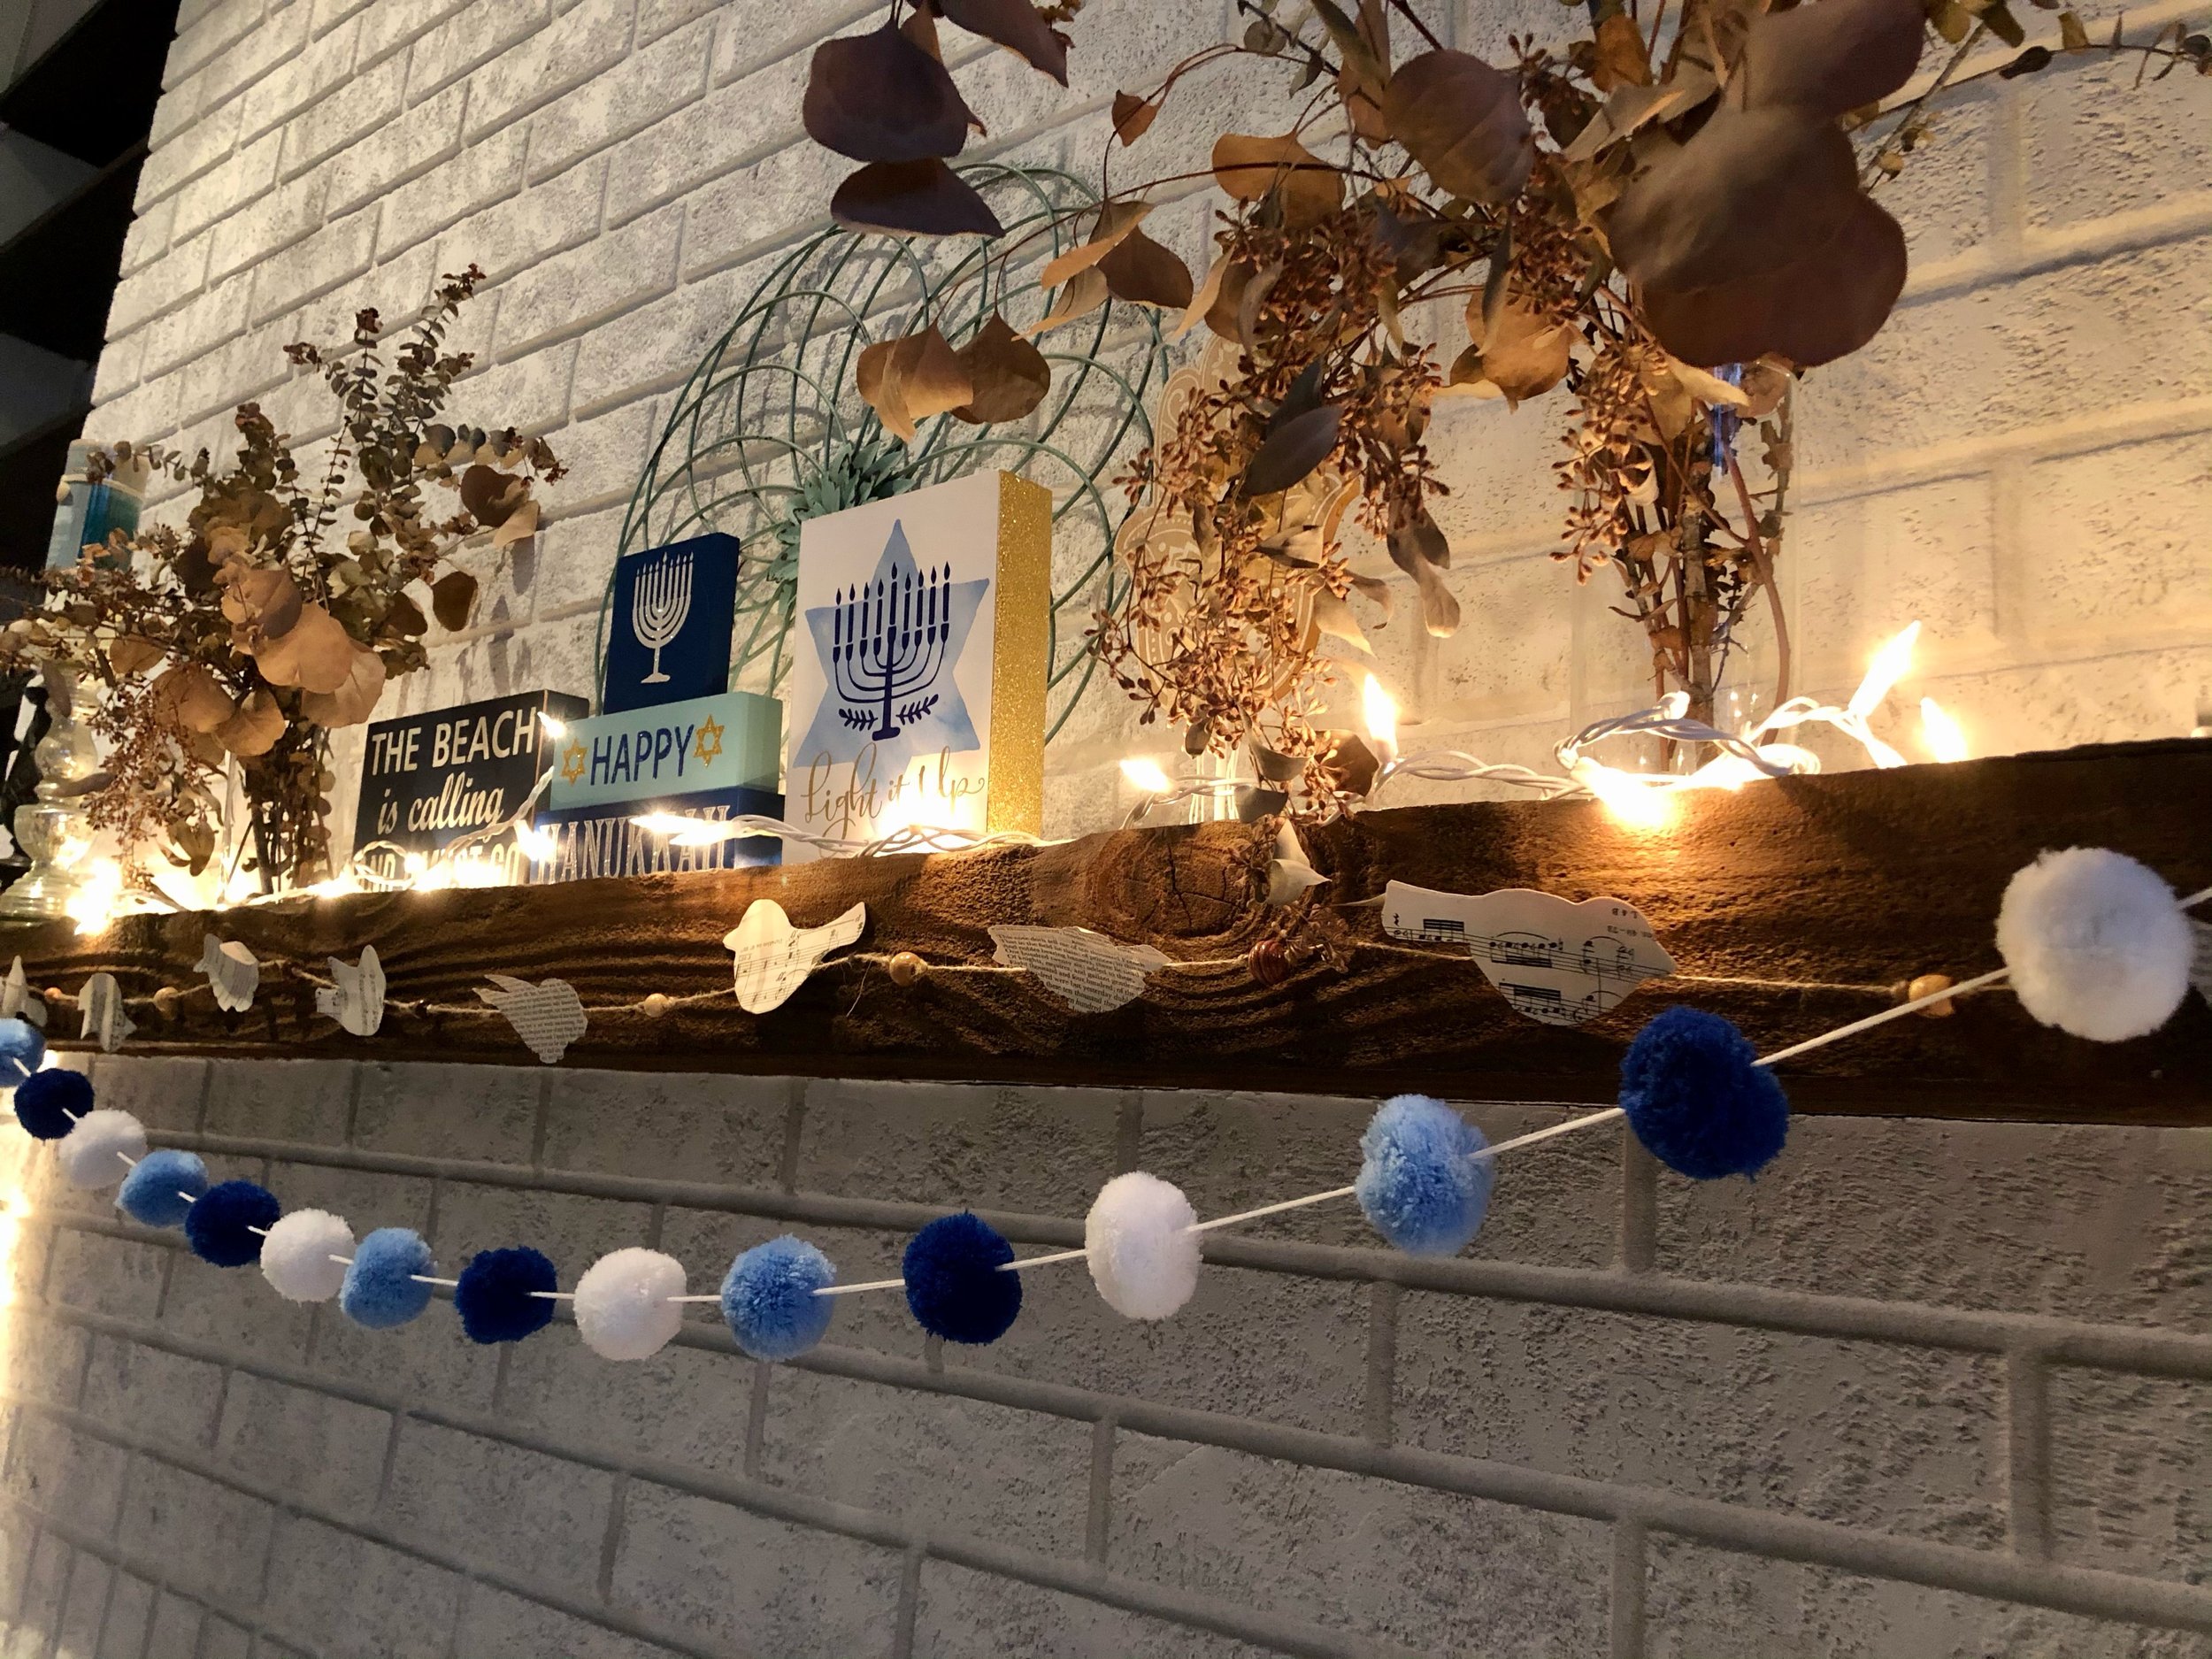
I loved that Aleah used vintage sheet music! The papers are so pretty!
Crafting paper garlands is a wonderful project anytime (think hearts for Valentines Day, flowers for spring, stars and circles too)! If you’re looking for more ways to use recycled materials in crafts, visit our “snowflake” circle loom weavings, and for additional creative ways to celebrate birds, trees and taking care of our earth (this “earth cake” is especially wonderful for littles), visit our Tu B’Shevat Roundup! We also have more craft ideas for winter and spring, and for all our DIYS, visit our blog!
Do you have any special crafts that you’ve done with recycled papers or other materials? Let us know in the comments, and let us know if you make vintage paper garlands!
Have a happy day!
~ Jennifer

My friend Aleah, who’s also like family. ♥ See the Havdalah Candle Workshop that we did together!


